
|
HEY! I LOVE THESE PUMPS! If you have a low flow, gravity tank, off grid setup this is the best option... https://www.rpssolarpumps.com
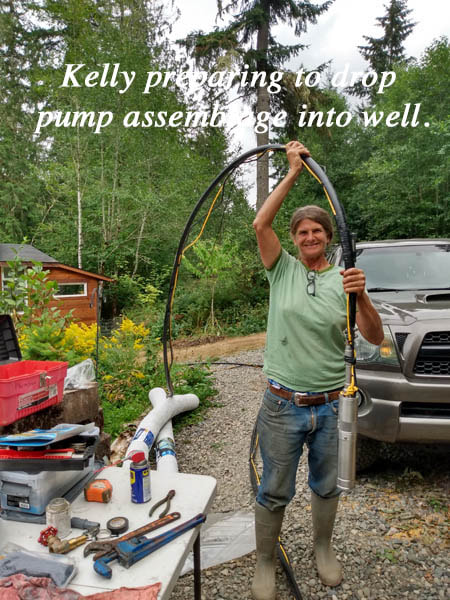
AFTER 12 YEARS of using Rain water....I installed a solar well!
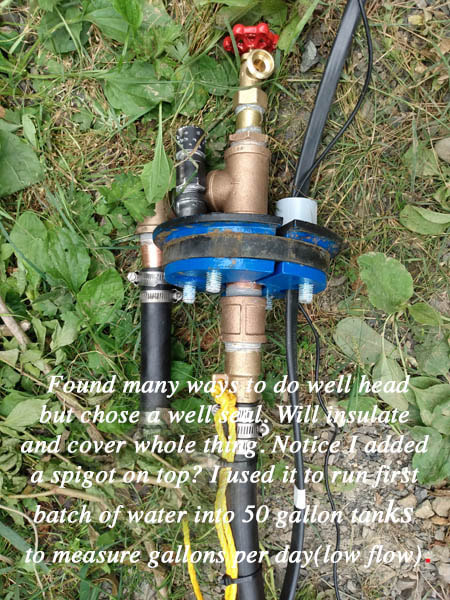
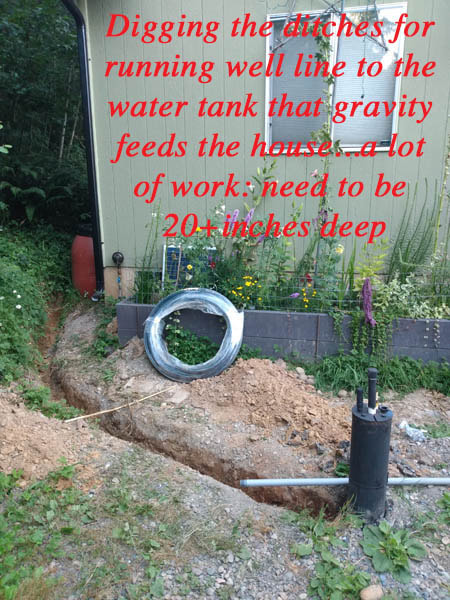
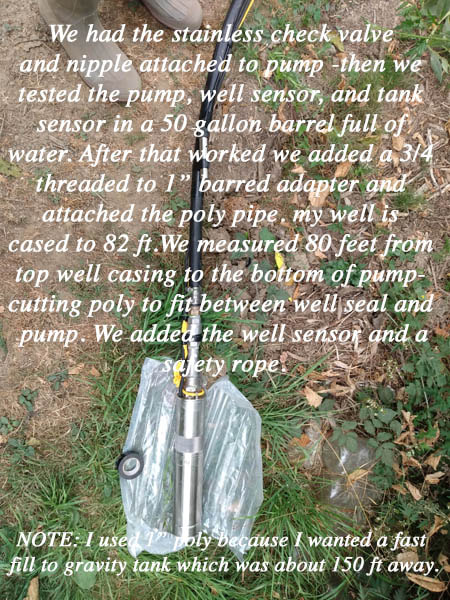
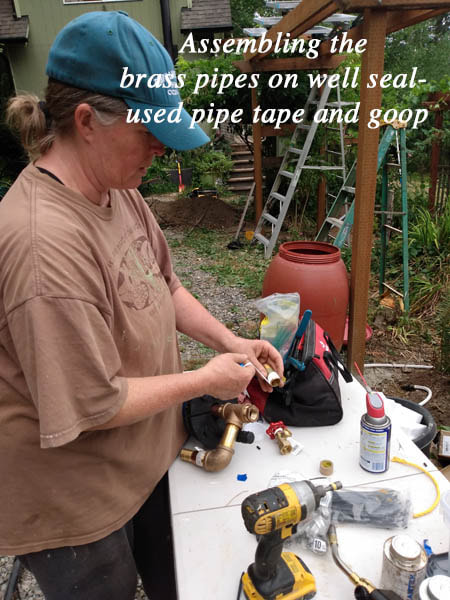
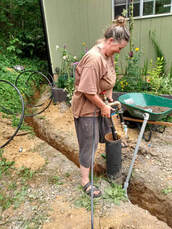
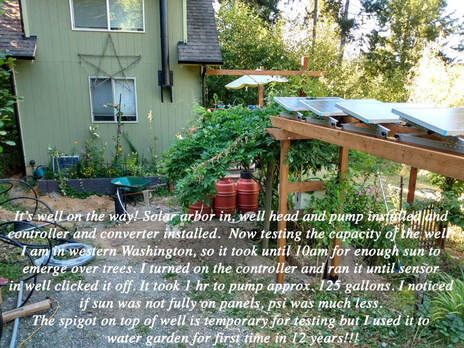
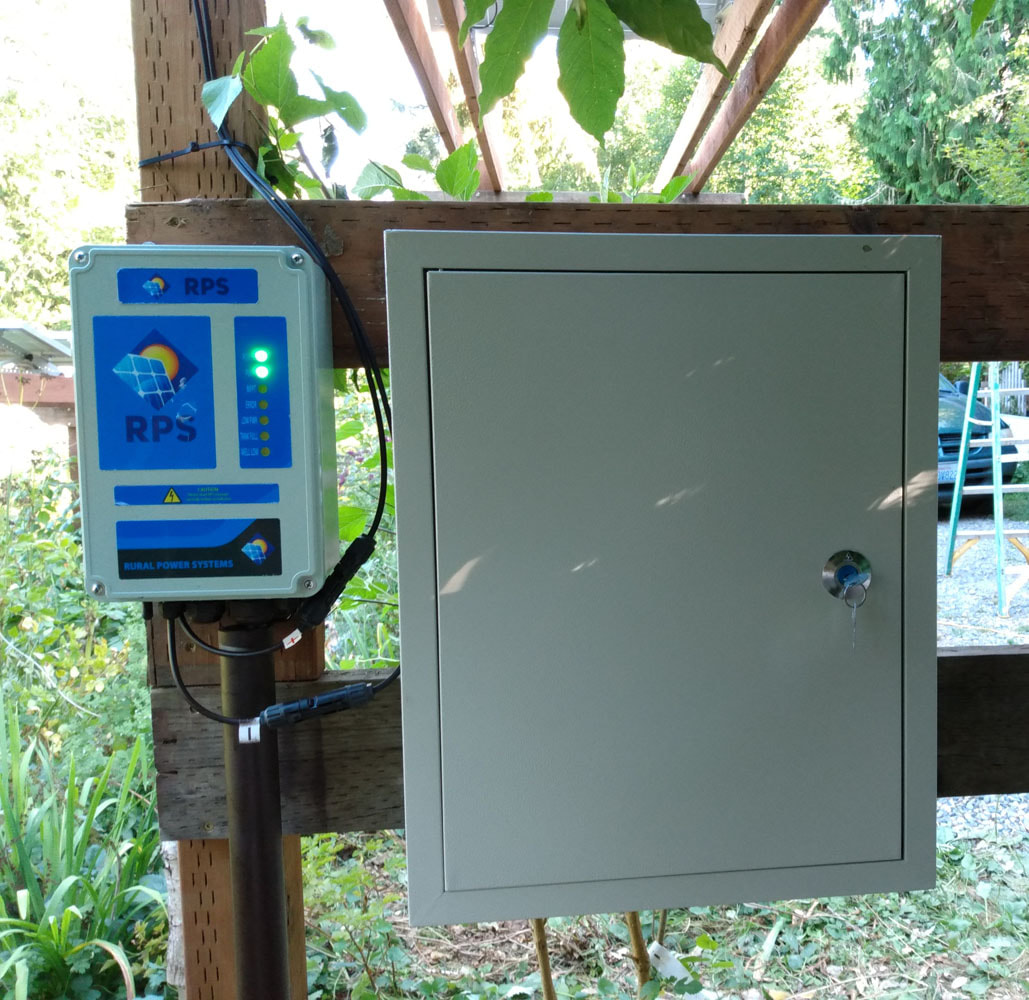
After waiting in line for months for my well to be drilled, it was done! After Terry -the well driller-left with his rig, it was time to add the pump and pipes. There was a small snag, once the well was drilled I found out it was only a low flow well....only around 125 gallons a day. In this case a solar pump is good for both low flow and a gravity fed tank. I did my research and found RPS. The RPS SOLAR PUMP KITS: are the best! I ordered the RPS400 solar panel kit without the solar panels The panels were from renology and I orderred 4 which in retrospect might have been more than needed for my 100 foot away water tank (about 80 ft away with 60 ft rise). They sat in my shed for months until I had time to build the arbors. PUTTING IT TOGETHER FIRST THE DITCHES: This week I finished about 50 feet of ditches. A 20" deep ditch (according to frost line in our county) for the water line to connect the well into the existing house supply line. Another to install the electrical conduit from well to rps controller. In addition there was a separate small ditch from a pre installed #10 wire from generator to the converter. Converter was placed next to the controller. The converter is for situaltions when you want to pump well and there is no light. It is a dc to ac box with an auto switch so in the winter if there is low light I can turn on the generator and the converter senses it and switches on the pump bypassing the solar. UPDATE: I found outlater I never needed converter in the winter, but good to have anyways... SOLAR ARBOR FOR WELL: I built another solar arbor just for the solar well. Built of pressure treated 4x4 and 2x6s, I then mounted four renology 100w 12v panels for the RPS400 Pump. After using the RPS calculator, it seemed I could have used the smaller 200 pump. But I opted for the bigger pump and four panels. In the end it wasn't necissary but I am glad to have too much rather than too little power. UPDATE: Pumps the entire 120 gallons in just one hour. SO I turn off the controller switch often since I don't use that much water and the tank storage is 1200 gallons anyhow. WELL HEAD AND PIPING: After deciding on 1" pipe not 3/4, I used brass fittings for the well seal. I used black poly pipe for the water line up. Then attached the #12 submersable electrical well wire. After some research I decided to add a faucet onto the brass T on well head to do testing and maybe water the garden directly when pumping the well. BUT have to remember to NEVER leave pump on if both water valve(to gravity tank) and faucet is turned off ! UPDATE: the faucet works great. I use it constantly and the pressure from tank at top of hill is good. I even use faucet when pumping the well and pressure is even greater. YEAR UPDATE: Well, there were some mistakes. I added a check valve just above well pump and it failed. Apparently they are supposed to go horizontally and it must be clogged with sediment?. I am digging out the water line 2 feet up from well head on way to tank. Installing a box to access and a new check valve. The ball valve I put on side of well is great! since check valve failed I can turn off this valve to prevent tank from unloading water out of well. Just have to be sure open when puming well. I dont leave solar controller on anymore just turn on manually after I open this side valve. Then I shut everything down fast after pumping so tank doesnt empty thru well seal. ALSO I need to replace the junky turn valve at top of well to a ball valve...... PUTTING IT ALTOGETHER: It took me and an electrician friend about 8 hours to assemble the 80 feet of poly pipe, the pump, well sensor, safety rope and well seal assembly (there was also a check valve on pump). We installed the controller and the converter onto the solar arbor at chest level for convenience. TESTING: Once the poly pipe was added to gravity tank and the sensor installed inside the tank it was ready to test. The next day I emptied the well of 150 gallons of water. It took about one hour. I noticed when the sun wasn't full on the panels it ran weaker, but it did rise to about 100psi at full sun. GRAVITY TANK: If your lucky enough to have the water tank feed your house from above....it can use gravity! Mine tested at about 30 psi (I use a little psi gauge I bought at ace hardware) as it is placed about 80-90 ft above my house. So its pressure is enough for faucets but just not quite good enough for little eccotemp(or the bigger marey water heater in house) to operate steadily. Thus a shurflo pump is ready for install beneath the house....luckily I placed an electrical plug under house for light. So will just plug in the shurflo after adding an manual switch (it turns on automatically when you open tap, but I like the ability to turn off pump manually too) The water system is not finished but it's close.....just need to add filters and the booster pump under house. YEAR UPDATE: I added a filter on each side of a 120v shuflo booster pump that plugs into a plug under house with a turn off switch I installed nearby. There was no way to figure this out from info on web. But it works. The filter before pump takes out a lot of sediment so I replace it every 2 months until well is less dirty. The filter after pump also needs replacement often. This might be because well is new and its taking water from 50 ft cavern. I found if I pump well once every few days it allows sediment to move down below pump more often(there is 80 feet below pump where we tried to find water originally). Just made one mistake on filter pump assembly. Used clear flexable pipe to join each section..thinking it needed to be flexable for the vibrating pump....had to replace with pex and sharbite fittings after a year. ALSO booster pump is LOUD. I attached the whole filter /booster assemble to 3/4 plywood piece and then screwed to a joist. This vibrated framing and makes it louder than necessary. SO next time I replace filters I plan to place some rubber insulting material to try to reduce vibration.
2 Comments
|
AuthorHi! I am an artist and a carpenter living in the woods of Washington! This is my off grid story. Archives
April 2024
CategoriesAll photos and images on www.loralin.com
belong solely to the artist. Copyright 2008-2023, Loralin Toney |

 RSS Feed