
OFF GRID CLAY SCULPTOR
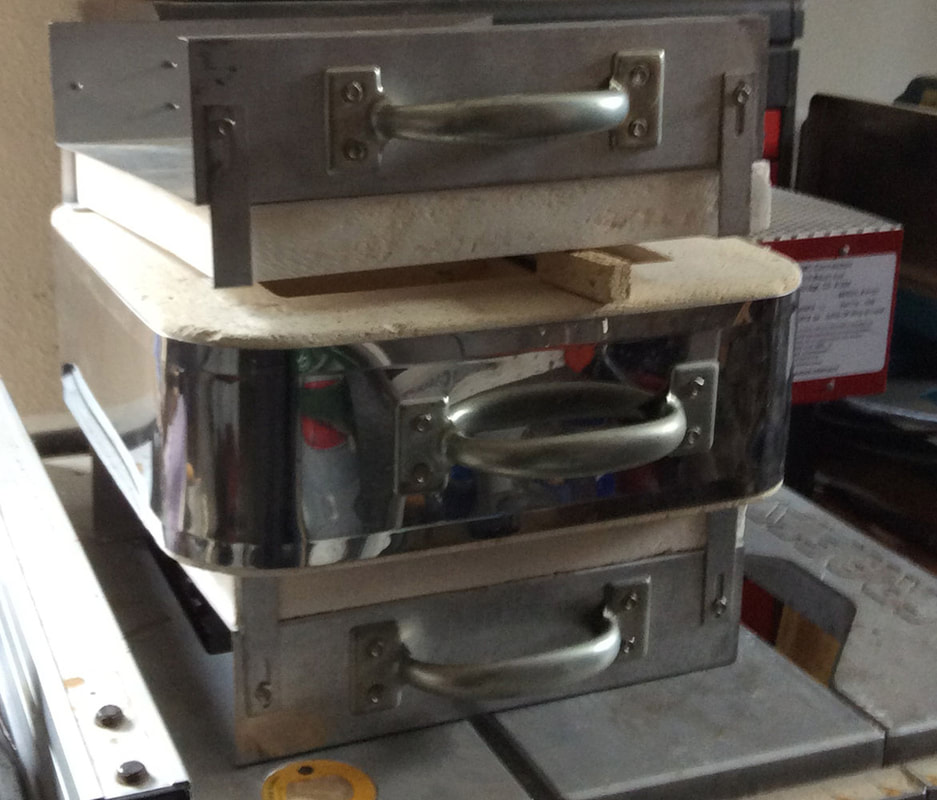
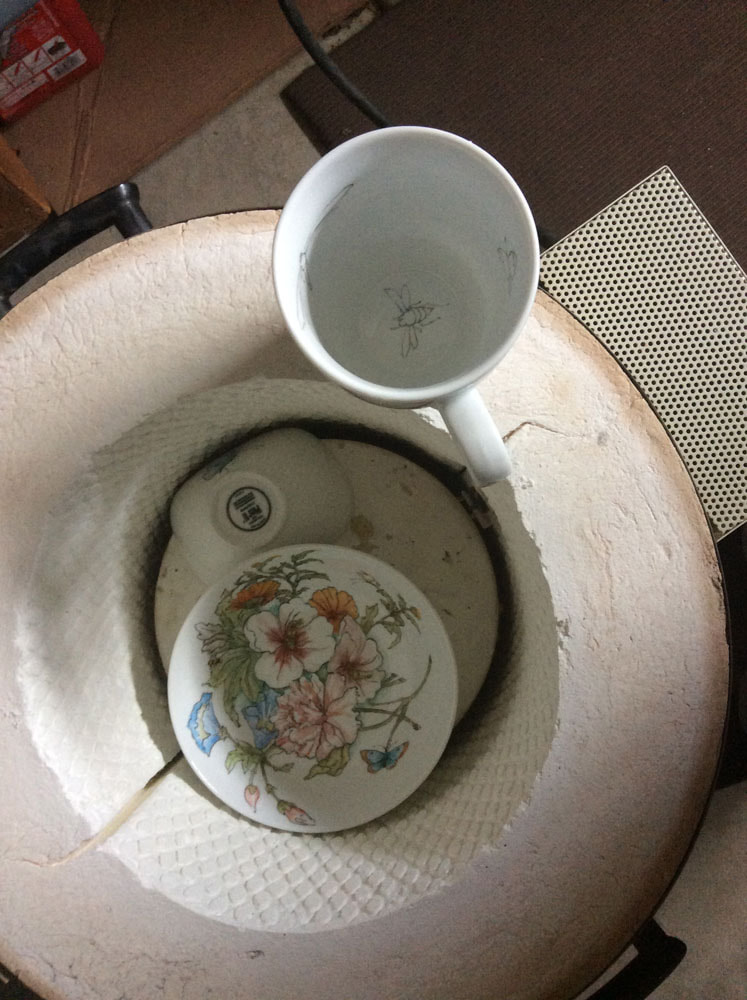
Yes its odd to be an off grider and a ceramicist. If you really make a lot of clay work you need a kiln of your own....I have 6! One installed at a family members home(my big one), two installed at my job while taking care of my grandparents...and one in my new studio off grid. Last month I began a series of tests to see what kind of kilns my 7000 watt generator can handle. This little mini 120 watt kiln seen on left above, did a splendid job! Though I can only do one of the three temperature firings so far that I need for china painted porcelain work, its a relief that the most common firing, the 018 one for painting works like a charm. The mini kiln has only a 48 sq inch place to hold wares but its perfect when making a series in components like I am now. These parts of porcelain might take 2-5 layers and firings to finish. This kiln fires at aproxiamately one hour for a cone 018 china paint fire so its very cost effective to run a kiln on generator. Eventually for higher fires I may need to buy a gas kiln if I want to work from home only. If you fire higher temps, like to bisque ware or glassware, those firings are long...4-8 hours. I really don't want to hear a generator for that long, but could probably do it if I wanted. Its been hard to find precedent on the web. I actually found no evidence of anyone regularly firing off a generator, so it must be rare.
0 Comments
Without a well for ten years had forced me to get creative. I originally used a 1200 hundred gallon tank in the ground that was already here and put in by previous owner. It is about 80 ft above my house so I could attach some pipe and valves (lots of valves!) and rely on gravity feed for basic cold water. My learning curve was in one bad winter I had a cracked metal valve because I put water line in only about 12-14 inches deep. After repairing the valve with an amazing fiberglass foaming product at Home D- I better insulated the box the valve was in. In 2018 I added my first hot water heater in a set up I call the cowboy shower. Using a 1.5 GPM Envirotemp heater that comes with most of what you need including the shower head handle, I began to finally take mini showers at home. But 1200 gallons wasn't much and the gravity is barely enough to make hot water more even. I also find it a bit cold to shower outside in the winter, though I do do it now and again. I fill my tank from a neighbor who lives above me since there is no buildings nearby the tank to use a gutter fill method. For a small fee my neighbor attaches a very long hose to my tank to slowly fill it about once a year or less(I use very little water with one person and a waterless tiolet).  THE NEW 800 Gallon Retrofited Tank:
ADDIONG MORE! Though I have since added many 55 gallon tanks under the eves of my house for garden watering, I just acquired a used 800 gallon tank from a neighbor. After camoeing the exterior, so I don't have to look at brilliant blue blob on the side of my studio, I began to retrofit the tank. It had sat in the sun and though I paid only 200 for it I think it was too much. Every orifice, the lower feed, upper overflow, and the two that lead to a plastic see thru pipe monitoring the levels was busted. The small nylon fittings were easily broken out and I found similar nipples at Ace hardware and used epoxy to insert. The bigger fittings were unusual and I used a hodge podge of plumbing fitting to place with epoxy. Unfortunately I used a epoxy putty to attach a valve below since I could not find the size locally to junction the used valve to my piping......Oops! won't do that again. The tank filled in a month and then drained after the stiff epoxy putty failed. I want to mention that there is no laws in Washington state that prohibit you from storing a couple thousand gallons of water or so. In some states there might be. But around here folks like to gossip about some imaginary restriction on storing water. For residential users in our rainy washington state this is simple not true.
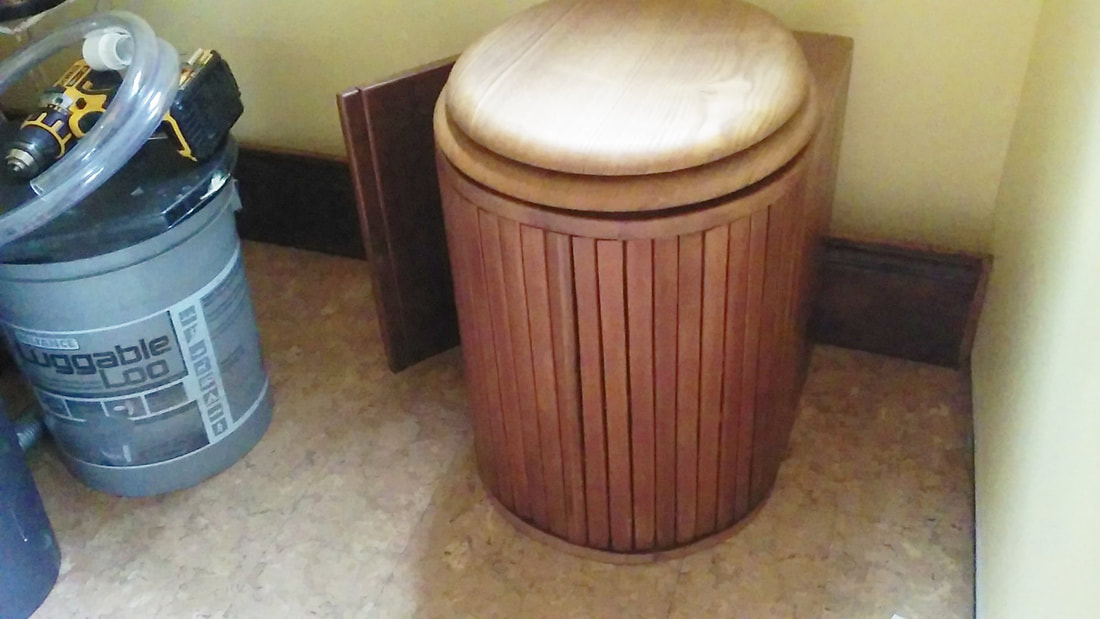
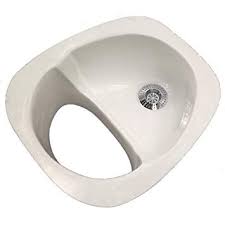
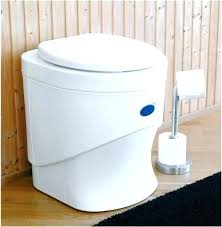
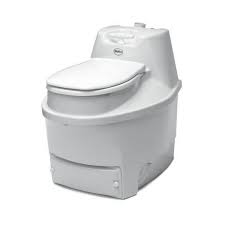
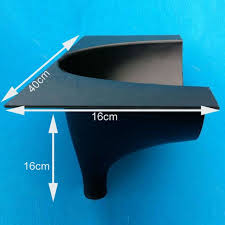
LIVING SIMPLY=SIMPLE TOILET....for me meant using less water in everyday life, and saving money too. For about 6 years I used the bucket toilet you see on the far left.....and that worked okay in a crunch, but I finally decided last year to buy or make a compost tiolet. After a month of researching I had settled on the urine diverting Biolet toilet- link to tinyhouse info: https://www.shoptinyhouses.com/products/biolet-bio15-composting-toilet BUT when I went to buy it I decided it might be too much a dent in my budget...900-$1900 depending on style. I had used a Sun- Mar toilet in the past both hooked up to power (yes it was not smelly! fan worked great) and off grid without even a fan(very smelly). It was too big a model for my little 5ft bathroom.... After a little looking on the internet I came up with the model I built above. And its cost: $200.00. Heres the details..... - CURVED: I thought a curved design would be more comfortable than a square on(see below) - RECYCLED WOOD: Using 3/4 old growth Fir that was going to be thrown out (from old closet doors) I made this comfortable alternative. -WOOD LID: The lid is from Ace hardware and worked out great. matches the fir and is very comfortable. -REMOVAL OF WASTE: On the side it has a door to open to reach the small bucket lined with biodegradable bags from local coop. -URINE DIVERTER**: I bought the kendrik urine diverter for about $50 ( See below LEFT and notes on its better potential alternative...)and ran it straight down from 'nipple' and through under house to the outside for collection(wards off predators) or into hole with charcoal in ground (AWAY FROM HOUSE!!!- because tis smelly. - 12v FAN: I bought a inline fan from a local marine store for about 30$. I did test it and it works great! especially in the daytime when its warmest. A small 40watt panel and charge controller. it is vented out back of tiolet in a 2inch pipe to outside (cap to keep out critters). KENDRIK DIVERTER** - What I have but back hole a bit too small (on left)
SO When all said and done,
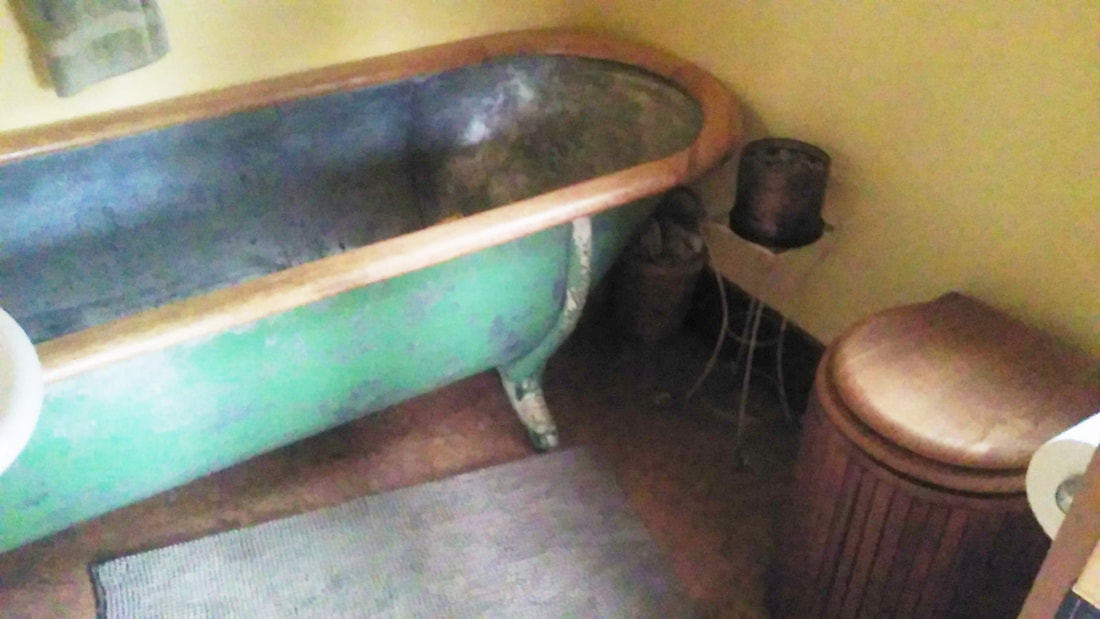
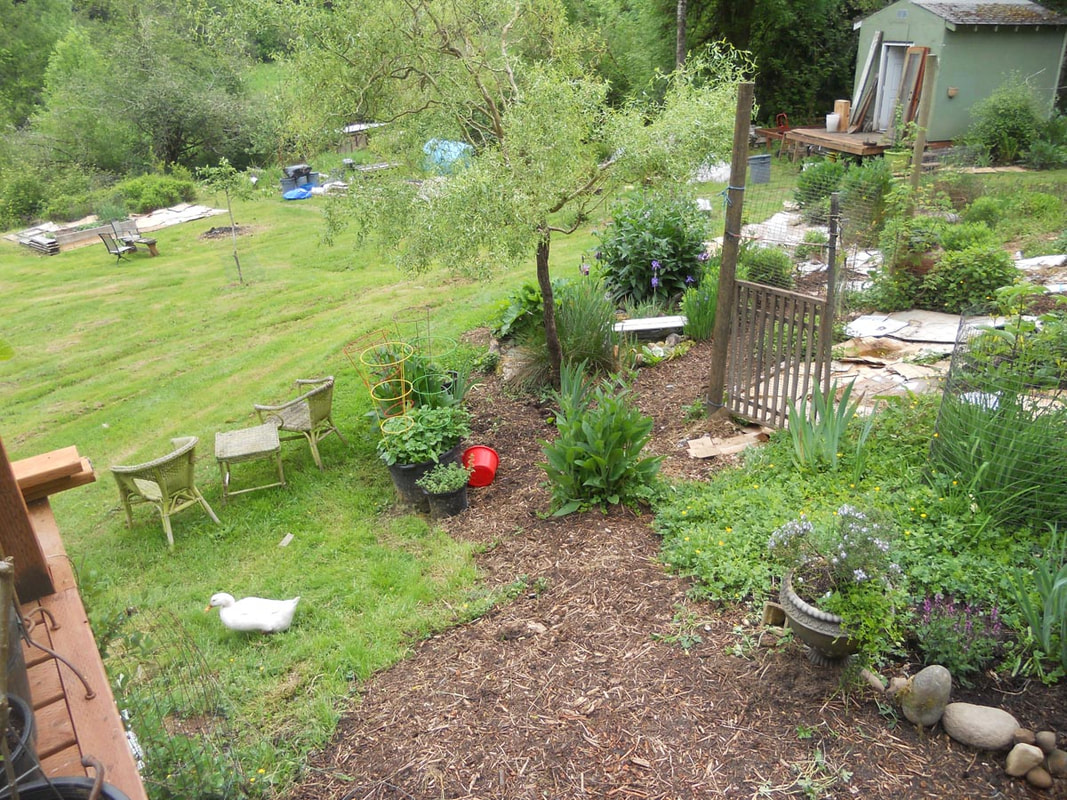
I really liked my homemade compost toilet. It was cheaper, pretty easy to make and it matches my 1800's 'cowboy tub' which I restored last year. When fan is running its completely odorless and the urine is moved outside. A great improvement on the bucket method. If I would do it over I would only change the urine diverter to a bigger back hole one. And I might add a second compost tumbler. Remember, its more work and your closer to your poo, but it saves over 6500 gallons of water per year!!!! Happy pooping!! In the woods you have.....DEER! Pretty though they are and charming their prolific children be, they are GWA, Garden Wrecking Animals! And thats not all, in the northwest we enjoy the slimy presence of slugs and rabbits and other gwa's! But in the years I have been gardening in the woods I have found tricks to growing flowers, herbs and food. Even then, to make things even more difficult, when I just started here I had found that though it was a clear cut forest, the soil was mostly clay with water washing over it most of the year. I had my work cut out for me. 1. SLUGS BE GONE! get a duck....or two. Though they are the first to be eaten by scavengers, if you have a strong coop (mine is even rat proof) they will be safe. Be sure if mixing chickens and ducks that you use nipple waterer systems. AND THE BIG DEAL IS that they eat every slug on you property. After two years my free range ducks ate them all! Even my neighbor brought buckets, yes buckets, of slugs over for them to eat. And though at first I was afraid they would spread and ducks would not get them all...well... my laura and lynn ducks did! 2. NO EATING MY PLANTS, DEER! get cages! Yes deer eat almost everything, including the plants your lovely local nursery owner claims they don't. When things get lean in the forest, I found deer even eat iris. But they don't like most herbs, so thats a plus. I use cages. I buy 4 ft and 6 ft fencing for my flowers, unroll it into cylinder shapes about 3-5 ft wide, and attach with cut end twice-bottom and top for easy opening. I use the 2x4inch hole kind ,as its stiff for making cyclinders and it has less visual distraction as the chicken wire or small holes make. They also work great with a piece of green house plastic (scavenged from nurseries who take old plastic off every 5 years) for longer growing periods up north. Things like valerian or marchmellow are good for 6 ft/5ft. And I use the 4 ft for daylillies and lower grow plants. With experiments you can figure out what works for you. BUT warning, I make sure the 6 ft is around young fruit trees (a deer favorite) and I 'stake' bottom with stickers (4 ft wood from lumber yards) for first few years. Smaller holes for this is better in later years before tree is too tall to eat from...as the deer might use bigger holes to 'climb' up. 3. GOODBYE CLAY! Amending the soil on the cheap, alpaca & cardboard I was working fulltime and had very little cash when I started out, so I improvised! Gathering alpaca manure (which is not 'hot' and can be added right away to plants) I put it in the garden. It did two things: with cardboard on top to block weeds, it began to change the soil chemistry, worms ate through the poop and cardboard churning the soil. ANd the stench of the alpaca pee made the deer disappear until the next application or rain. PLANTING: using comfrey and irises, daylillies and mint, I was able to start the garden even in the worst conditions- broke/deer/slugs/clay/excessive water. And now as soil has changed I can add other plants like, bee balm, golden rod, herbs and more. (though lavender,sage, rosemary have hard time with all the water still).
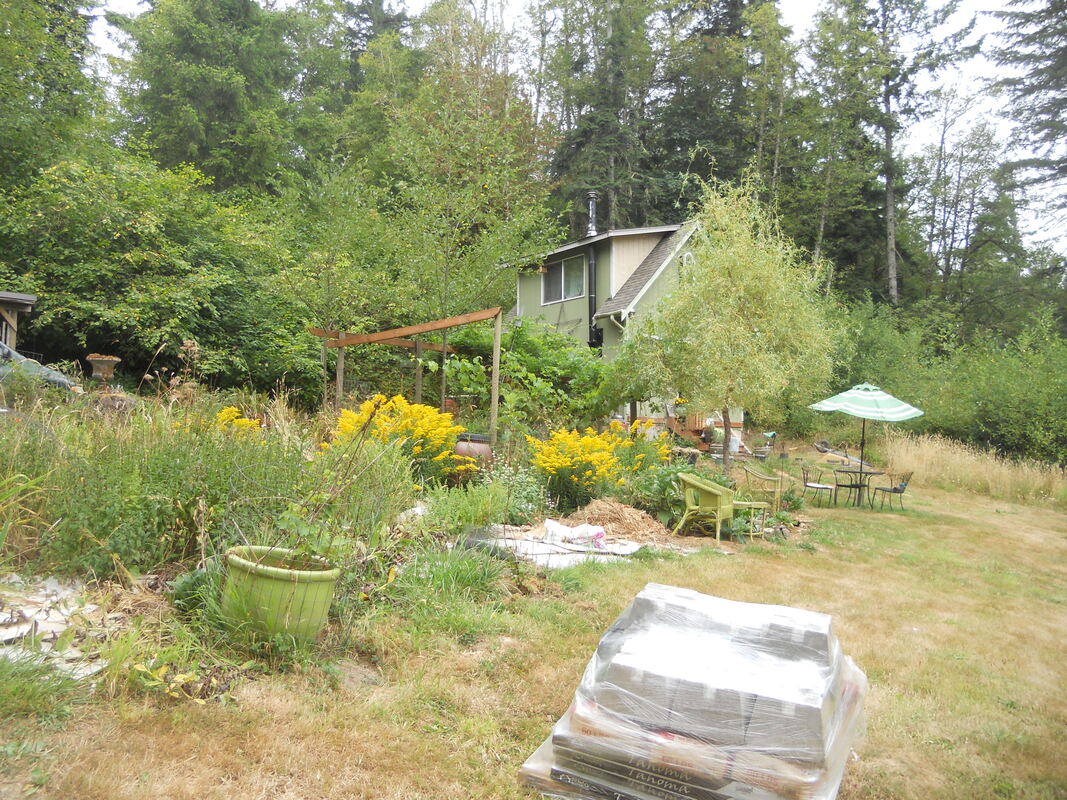
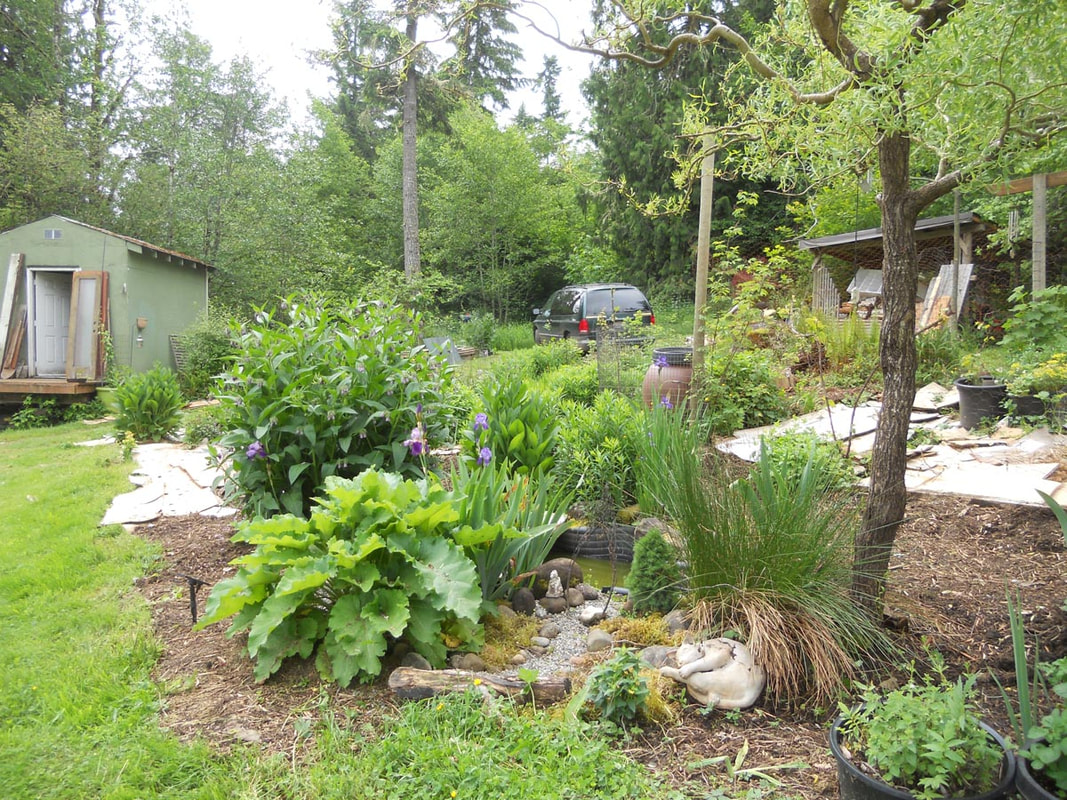 Watering: believe or not I don't have a well! For years I have used (10) 55 gallon pickle drums under gutters for the garden.some with spouts for a hose and some I just hand water with a bucket. When its gone I use my 1200 gallon gravity tank-sparingly- as its filled by a upper neighbor's 1000 gallon rain tanks. 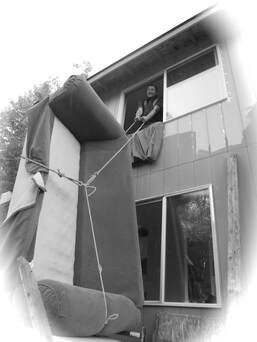 Sometimes we lose something to find something...or maybe I should say a bad thing can turn out out be a very good thing! I've learned to be patient through hard times, as they seem to clear the way for something better. When I moved to my current home in the woods, on a clearcut, and totally off grid, I had no idea I was about to start one of the most rewarding and pleasurable parts of my life. It was starting all over again with a new home and very big project, but it was a perfect transition from one life to another. Things were about to get much simpler. In the picture to the right, I am helping my friend Pete lift a couch off my truck and into my new 350 sq ft home. It was a rush to leave the old place to a renter (so I wouldn't lose it) and quickly finish up this shell of a cabin to live in. I didn't even have a source of heat for those first few years and my family was very confused as to why I would leave a perfectly good house with hot water and a refrigerator to live in this very basic place. Well I would have to admit I must have had a set of mental blinders on to get to the point I am now. If I had really thought about the work it would be to live this way and to start over I may not have done it. But i have always trusted my instincts and my passion to create. Being on my own for most of my life, I have never had a partner or spouse to help get things done or paid for. Its made me very independent and able to make, build, fix and sort out most things folks do with someone else in their life. The off grid - maker experience is perfect for folks like that. 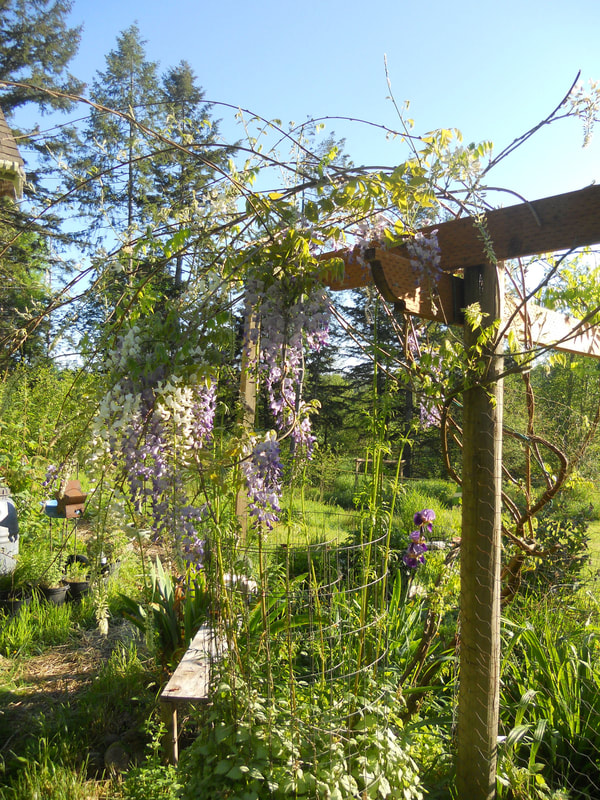 Living off grid seems to lend itself to growing a garden. Mine is mostly flowers right now, and as you can see....most live in cages to survive the deer. |
AuthorHi! I am an artist and a carpenter living in the woods of Washington! This is my off grid story. Archives
April 2024
CategoriesAll photos and images on www.loralin.com
belong solely to the artist. Copyright 2008-2023, Loralin Toney |


 RSS Feed