
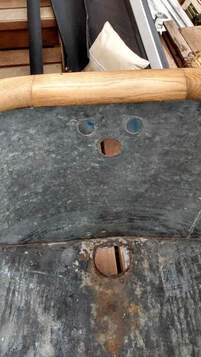
 ANOTHER TUB!? So it seems I am into these 1800's vintage cowgirl tubs! In previous post I began to journal the procedures we used to restore a friend's tub. We are still working on that one. In the meatime I needed to finish my bathroom to actually have a shower after 13 YEARS! Yes I do not exagerate. These tubs usually have rusted out spots, especially the drain. I used JB Weld, the one that's heat resistant on the last tub. This one had a bigger hole....see below. I solved it by making it uniform with JB weld around a big pipe with blue tape on it to prevent sticking. Then instead of a clawfoot drain piece I put in a sink sized one...See pic on right below....NOTE: when I used the jb weld I had to layer. I wanted the tub to be flat where drain went in and unlike regualr porcelain modern tubs there is no divet where you put plumbers putty. So I applied jb weld and sanded layers to make it flat since tub is a bit concave in general.
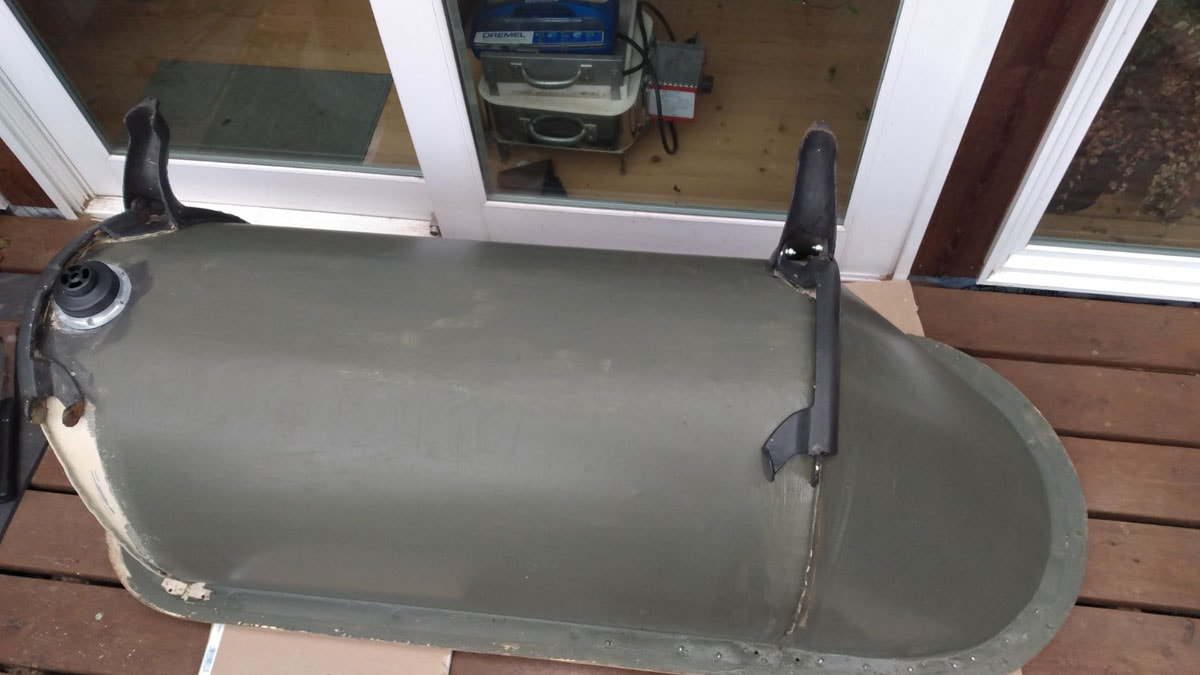
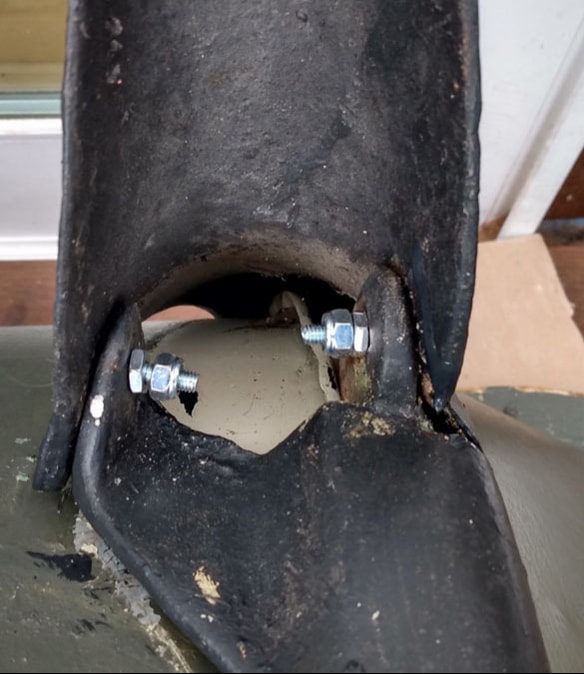
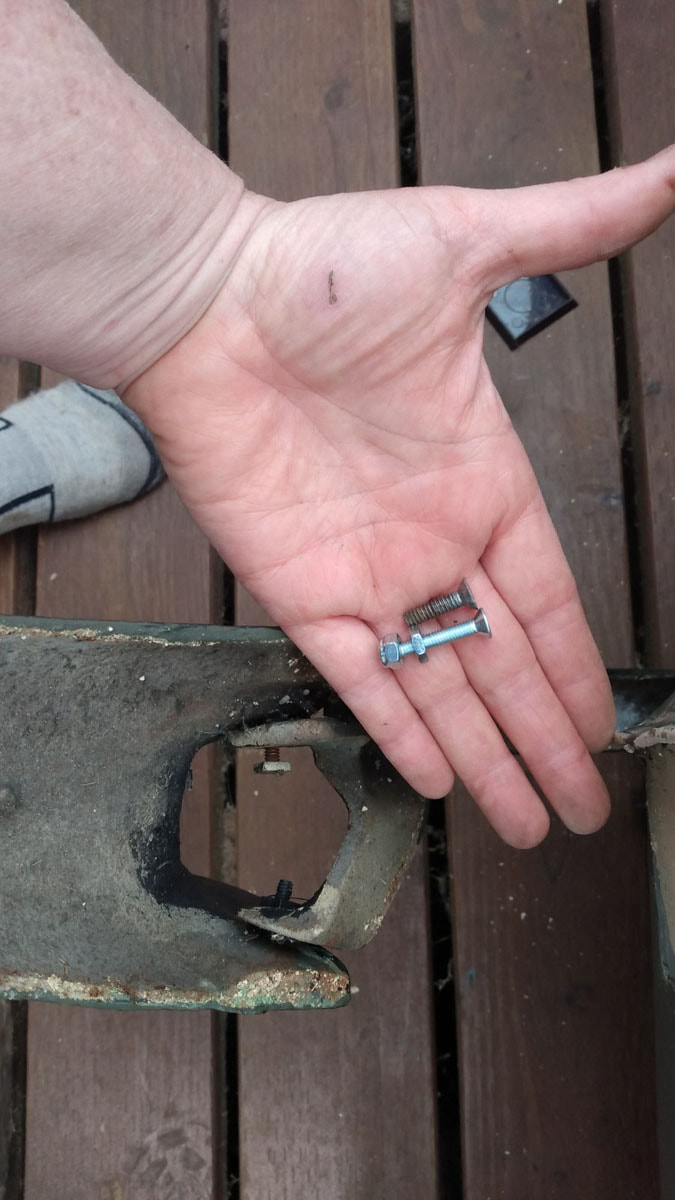
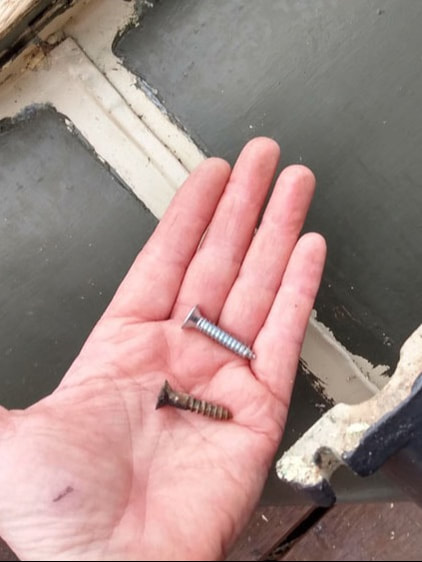
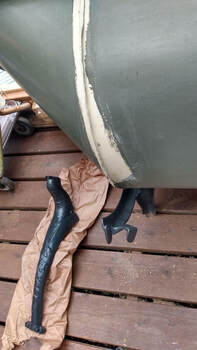
ONTO THE LEGS These old tubs have fabulous legs. They go up the side and bottom to make tin much stronger in its shape. There are two screws holding top of side legs to the wood rim. Also there are four bolts on front and back sets of legs, 'hinging' them together. Originally after stripping tub and so much other work going on, I got lazy and just painted the tub. But when I was working on drain a screw fell off. I realized the rusted old scres and bolts had to go. 1. Screws holding legs to wood rim: I matched the old slot heads to modern ones but added some length, see top right. 2.Bolts hinging three part leg assemblies together: I bought new ones and added lock nuts since old ones kept getting loose with only one nut.See above pic in middle and below where new bolts are in. 3. Self Tap 1/2 screws rim to metal flange; The metal flange was ripley and funky. So I added these little screws every 3-4 inches to make it need under rim. I painted the screws to fade away near the grey green paint. you can see these in second row of pics above where tubs underbelly is exposed.
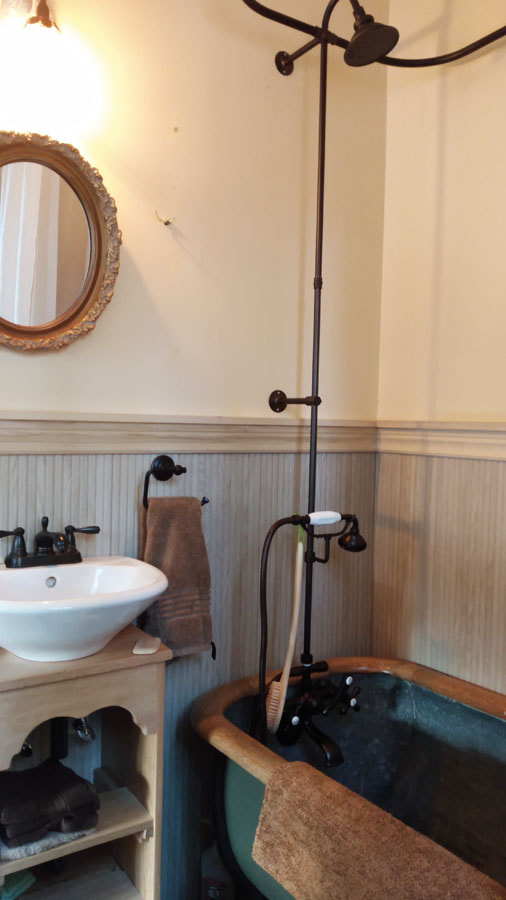
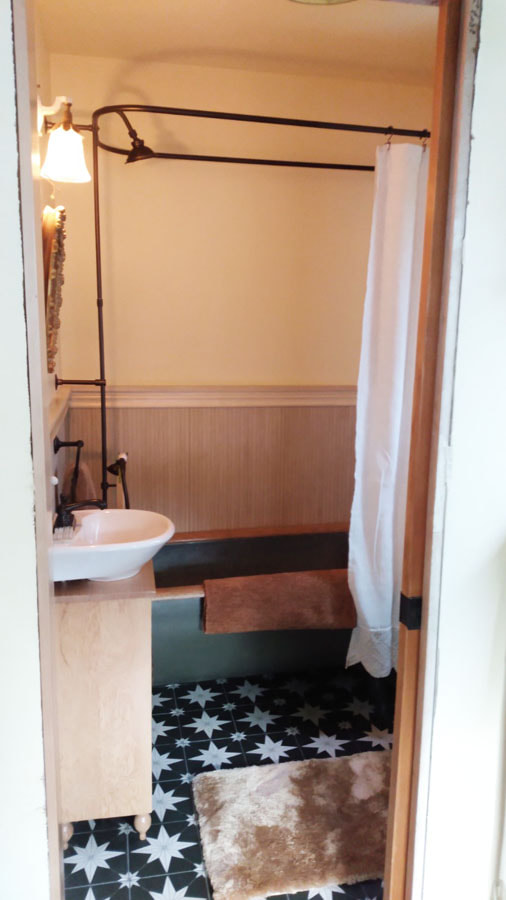
 BATHROOM DONE! TUB LOOKS GREAT!
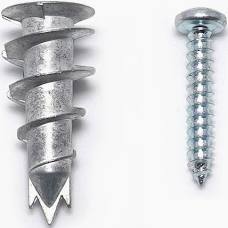
WOW! Check it out. The tub is so comfortable (just like my friend Kelly said it would be!). It has a very sloped back so you can really lie down in it. It's deep and though narrower than a standard tub (26" instead of 32 inside) it feels cozy. I am nervous to stand up on thin steel bottom but it seems strong. I might add a shim style cedar part under tub to support if it feels like it might dent. REST OF MY TUB'S BATHROOM SETUP I installed vintage style tile from Lowes for floor, The 'maple' wood look tile walls look like wainscoating but waterproof. I put in a new pedestal for sink, removing the porcelain one. This pedestal is a handmade hemlock cabinet for more storage in my tiny bathroom. There is popular trim on top of wainscoat tiles to make it more woodsy. And though the woods don't match all the wood looks nice next to the handmade wood compost tiolet (see previous blog entry). Though I have one small leak hard to get too (clawfoot faucet elbow was cheap and compression washer wont set right) the tub is in. I took a bath! NOTE: These tubs are not standard sizes, many companies made them so they are all sizes. My tub is about 66 inches long and 27" wide, but the faucet assembly I bought is a big. I love it, but you should consider the smaller types. MOLLY BOLTS: When I put in shower ring I used the molly bolts to left. BIG difference than ones that come from kit. These go in simple and hold like 50lbs a piece. Ring is still wobbly so might add a few more supports.
0 Comments
Leave a Reply. |
AuthorHi! I am an artist and a carpenter living in the woods of Washington! This is my off grid story. Archives
April 2024
CategoriesAll photos and images on www.loralin.com
belong solely to the artist. Copyright 2008-2023, Loralin Toney |
 RSS Feed