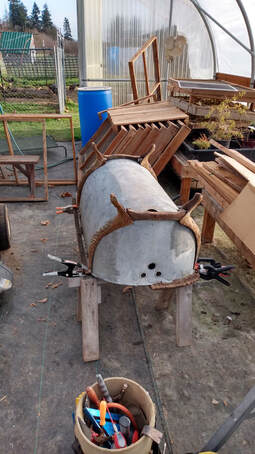
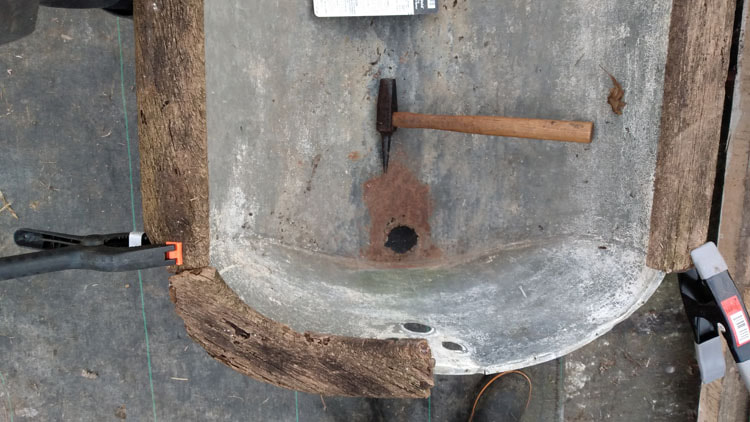
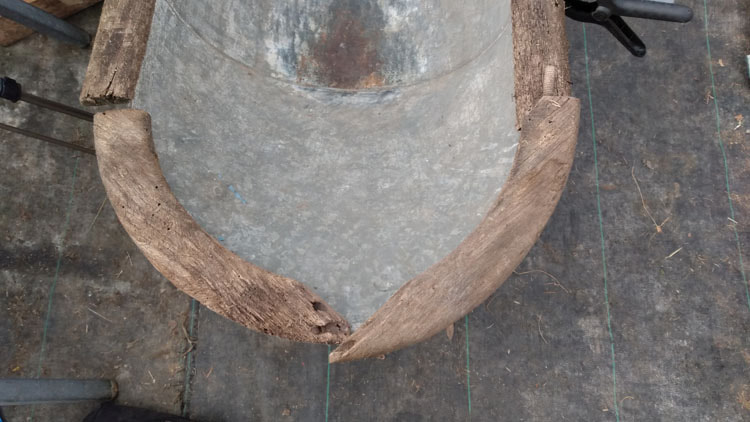
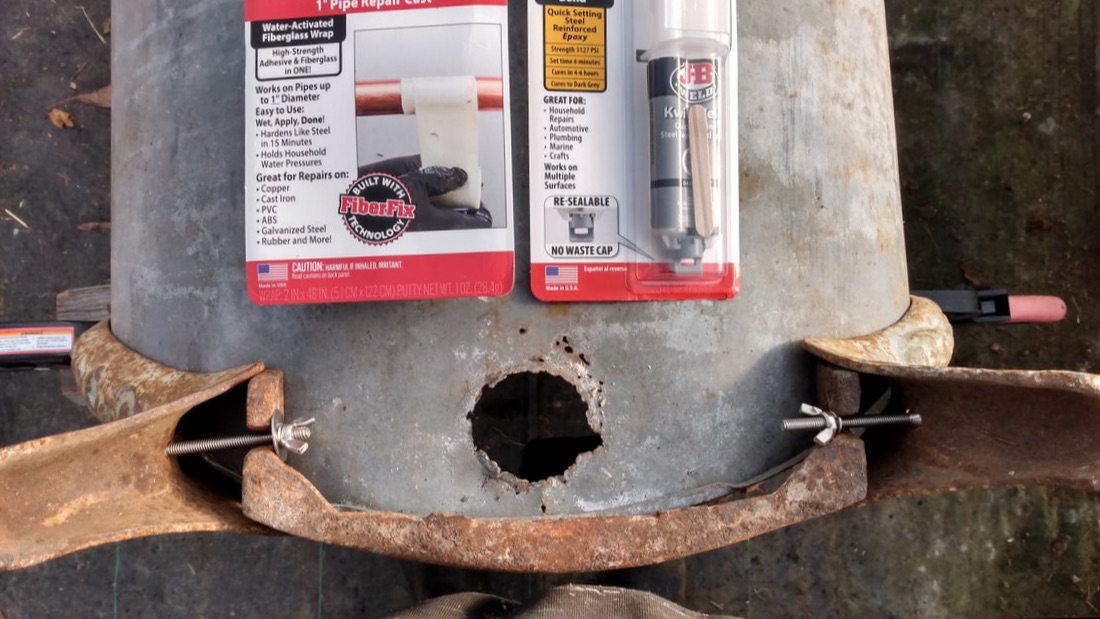
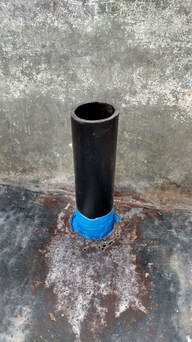
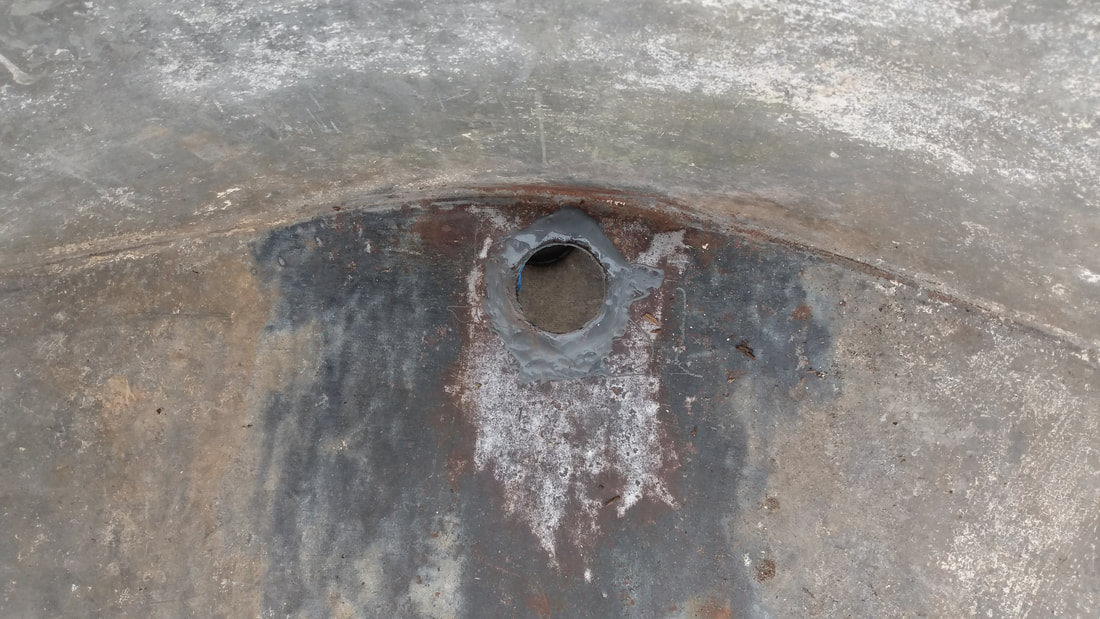
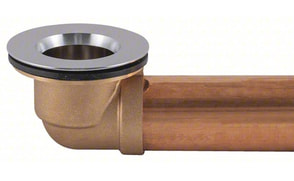
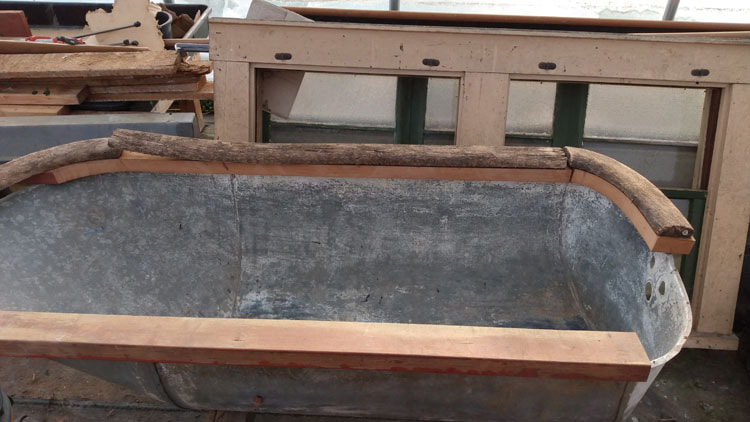
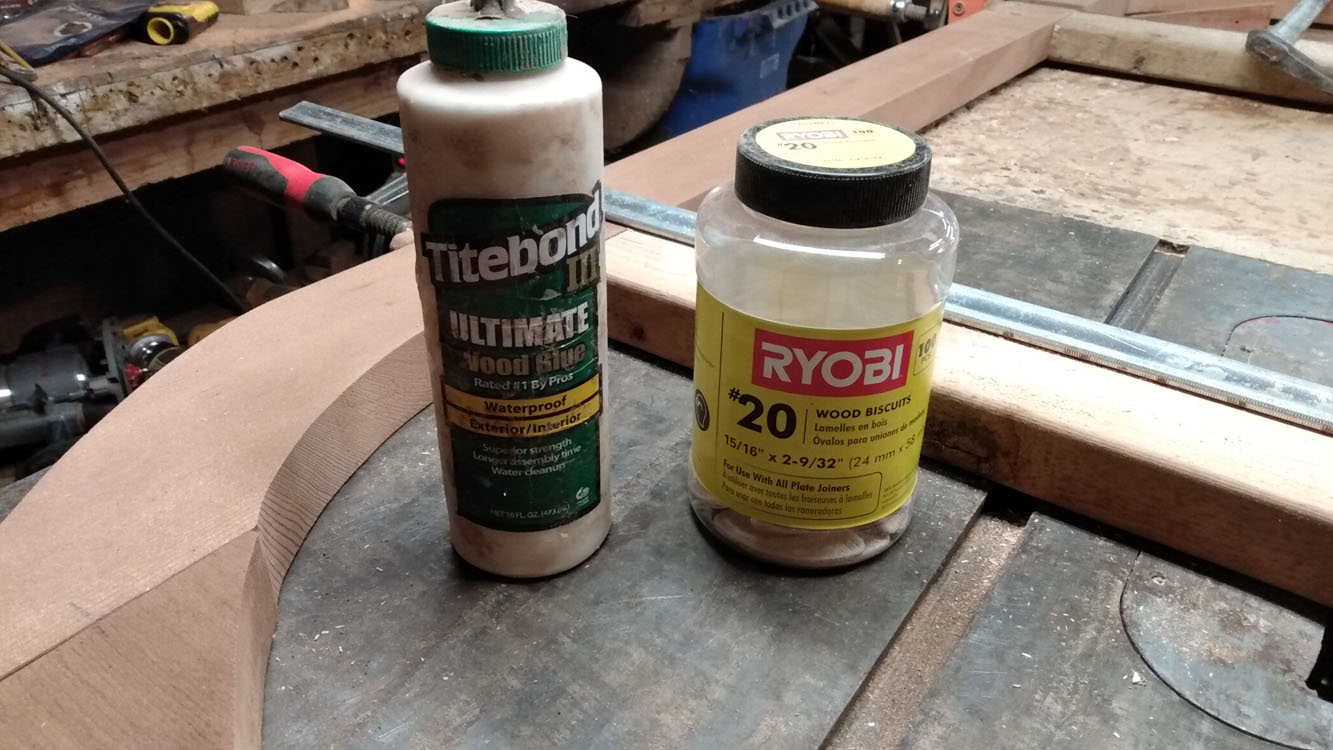
 This isn't necessarily an off grid story but if you like old Cowgirl/boy tubs check it out!! I thought it would be fun to record the way my friend Kelly and I repaired an old 1800's tub with wood rim. I had bought it years ago at Aurora Mills in Oregon for $180.00**. These old tubs cost a fortune online and need extensive repair in most cases. Rotted wood rims and rusted spots around drain are the worst culprits. I found nothing online that could help us figure this out. However Kelly already has one of these restored in her house. So we had some luck figuring out how to proceed by examining hers. I personally liked these tubs because they are pretty, rustic, lightweight and can fit in tight spaces....Mine is only 26 inches wide and fit in my 24 inch door to a tiny bathroom. Galvanized metal is not toxic according to info on web. But zinc from galvanized metal can be toxic in large amounts. There is no indication that galvanized tubs release a lot of zinc....Anyways they are very comfortable and can be wonderful in a rustic cabin. ** I found one of these old tubs in a nearby antique shop that was in excellent shape and needed no drain or wood rim repair. I installed it and left the Aurora Mills tub outside until I figured out what to do with it. Luckily I stored the metal legs and old wood parts in a closed bin. This protected them well. 1. Attaching legs: If you are on this same journey you might find attaching the legs a bit tricky too. Because old bolts were rusted we bought stainless steel bolts to match the old ones - with flat heads. Kelly bought washers nuts and wingnuts as well. The legs seem to be attached with these bolts and once screwed to wood rim hold themselves in place with tension. There are many brands of these old tubs and many have totally different legs, cross braces and parts. So they dont always fit if you have to find parts. NOTE: you may want to clean and paint your tub or legs....in both kelly and my tubs they are left mostly to look as they came. Just cleaned up a little with new plumbing and such. 2. Refitting wood rim parts-if you have them!! After attaching legs with new bolts, we clamped old wood to leg tops so we could flip tub over to work on rim. We positioned the wood parts to see how they fit. I then carefully bent the edges of galvanized metal to lay flat again where wood had fallen off. Only two pieces (sides) were still attached. There were tiny galvanized nails, but beware...dont pull on them. Kelly used a thin rotary cutter to slip between metal and nail to cut. This kept the thin metal rim intact and unbent for most part. 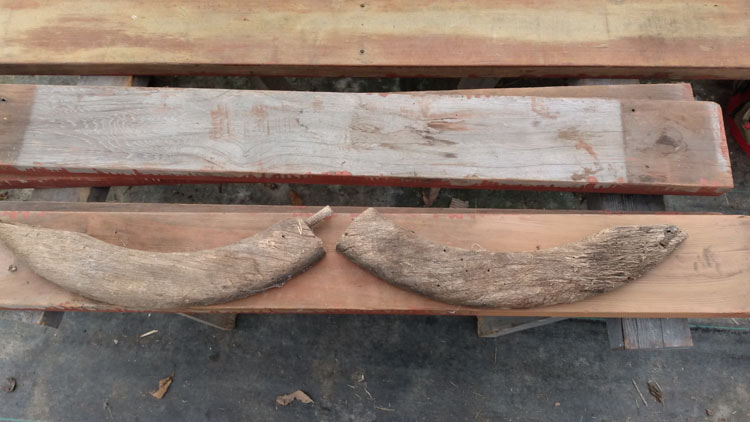 3. Replacing old wood rim: I began to layout some 2x6 Redwood pieces for replacement wood rim parts. Its a bit thicker than the 1" old rims but Kelly liked the idea of trying something new and had these on hand. We plan to cut shapes to fit, biscuit join parts (the dowels are big -as seen above-and one has to be precise to make that way in new wood rim). 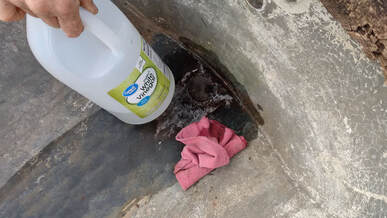 4. DRAIN REPAIR: Next we took a break from the wood rim to prepare the area around drain. We sanded the old rust off and then cleaned the area with vinegar. Afterwards we rinsed it and used a torch to dry it, careful not to heat too much (you could just wait for it to dry). BELOW: two products we bought to try. We used the jb weld epoxy not the fiberglass. (though if your tub needed more extensive hole repair, the fiberglass kit might give stability to the backside. The JB epoxy we used says it can go up to 250 degrees and is water proof. JB has other products too "Extreme heat" for mufflers and such. We could not find this at our local Lowes so chose the one below. So you decide what to use. 5. Preparing to epoxy drain hole: After cleaning the area, we measured out the size we needed to make drain hole. you can see it has pit marks and is larger than drain part. Below is a picture of a brass drain part with shoe similar to our drain part. **You need a threaded drain extension for these old tubs that have that collar part between legs. This collar raises the distance so a straight run like picture below does not fit over rim.
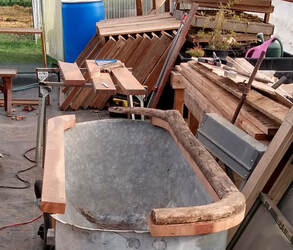
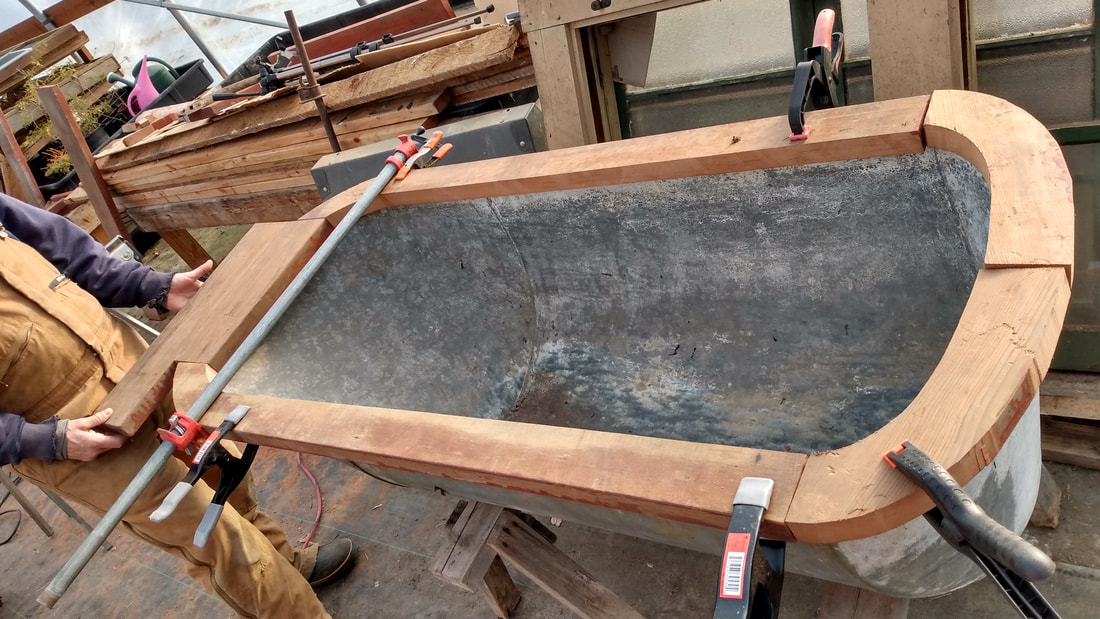
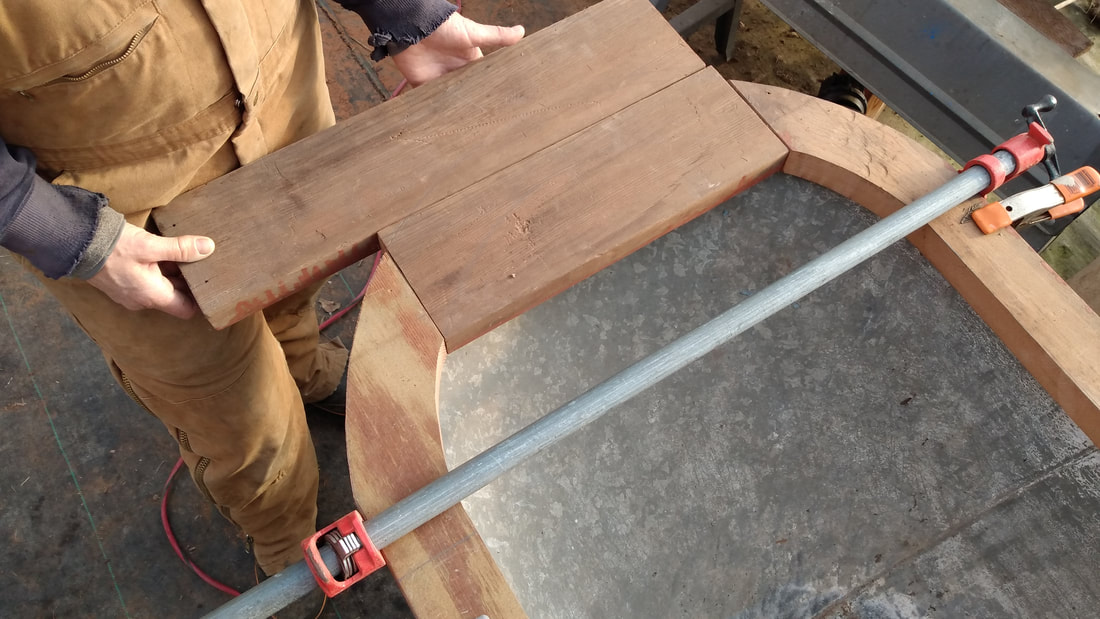
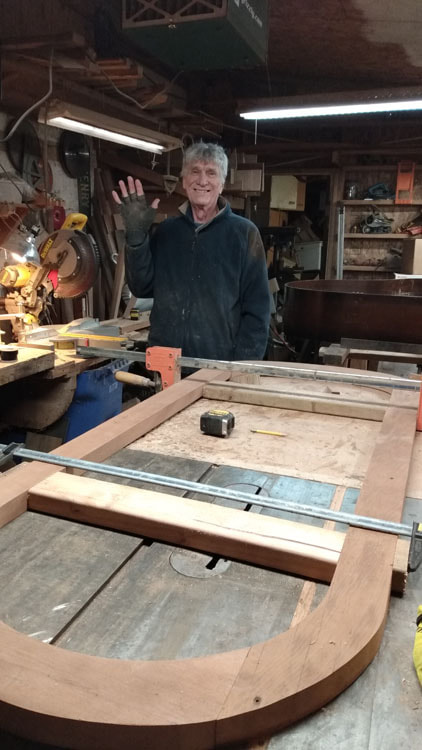
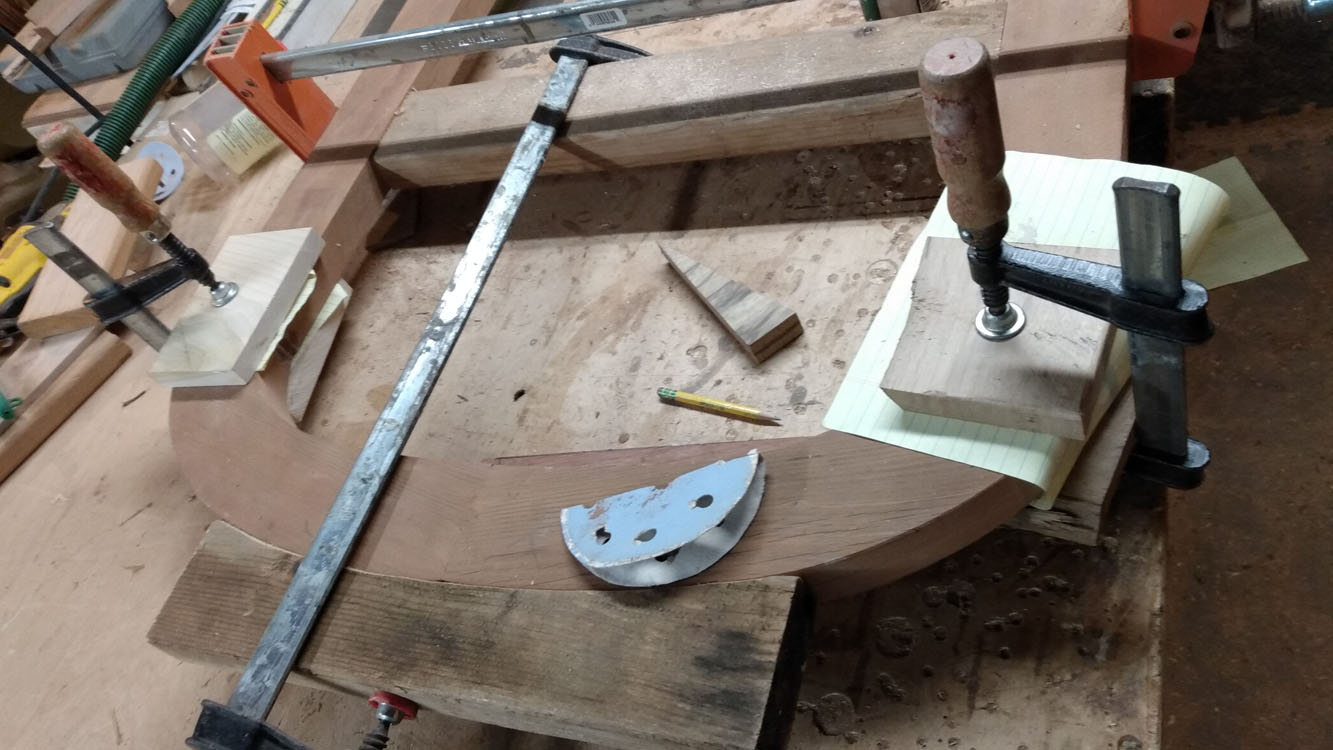
6. BACK TO RIM: So I am sure there are many ways to figure this out....especially if you don't have the original wood from tub or its very rotted like in this case. First we set up the old wood rim onto tub as best we could. We clamped it to tub and laid it out according to the two pieces still attached. NOTICE: Standard tubs used full one inch hardwood doweled together. We used 2x redwood and are planning to biscuit join it instead. There was a total of two straight side pieces, two top curved pieces and 2 back curved pieces. To determine the new cut pieces of wood make sure to measure everything laid out in old wood setup. ...in this case it was 27 3/4 outside edge to outside. Also measure the old wood lip overhanging inside tub. In this tub it was about 1" all way around but top rim was more like 3/4+. I found these two measurements especially important to laying out new wood. But measure everything you can!! I laid out our redwood lumber onto sawhorses to make the new set of rim pieces. Because the TOP two curved pieces from old wood were cut from a 1x8 to form the sharp curve and all we had was our 6 inch boards....we added some of that length to the side pieces....see below. I cut these first. Then we did something fancy with final top curve piece. We laminated two 2x6 together and cut our shortened single curve piece together. I used a jigsaw with new blades on curves and my worm drive on long lengths. Cut top piece not shown yet.... See the old warped rotted pieces laid out on new redwood to double check everything. BE SURE TO CUT THE EDGES YOU ARE TO JOIN VERY CAREFULLY. you want a tight fit for joining.
More pics and desciption to come next week.....
0 Comments
Leave a Reply. |
AuthorHi! I am an artist and a carpenter living in the woods of Washington! This is my off grid story. Archives
April 2024
CategoriesAll photos and images on www.loralin.com
belong solely to the artist. Copyright 2008-2023, Loralin Toney |
Proudly powered by Weebly


 RSS Feed