|
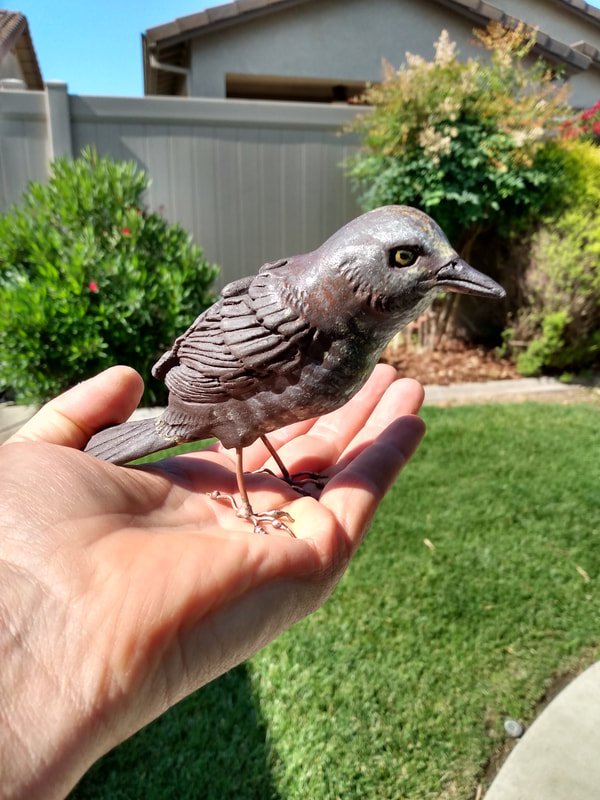
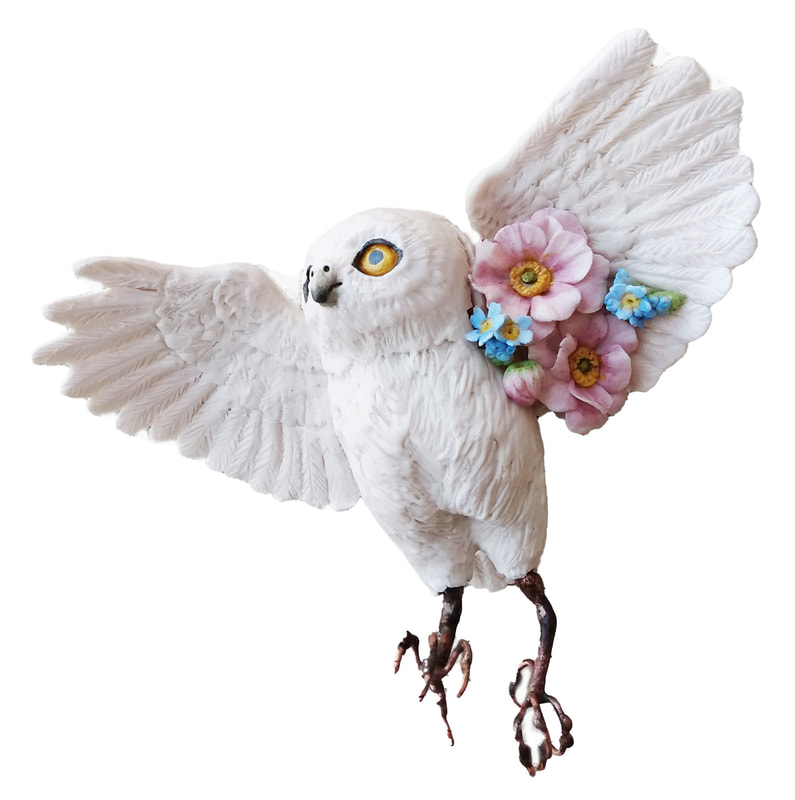
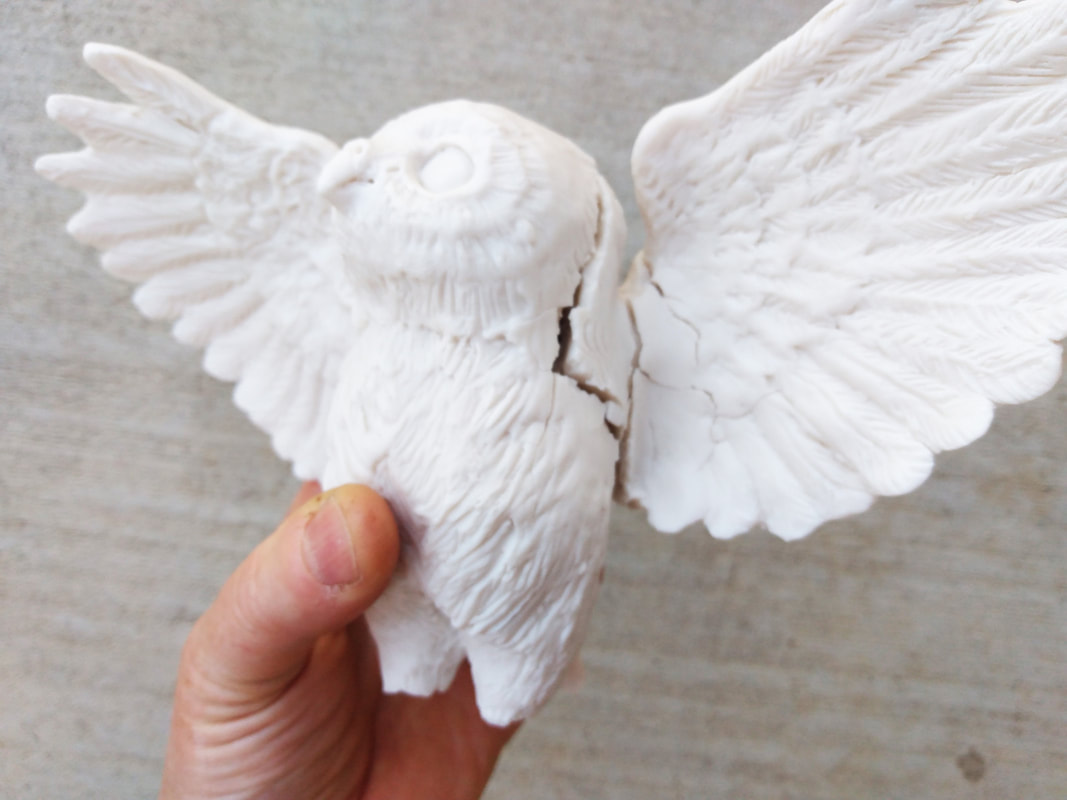
Resurrecting the leucanistic Pygmy owl!!!. Nothing a few flowers and epoxy putty couldn't correct. Her legs aren't painted yet and still more to do...
0 Comments
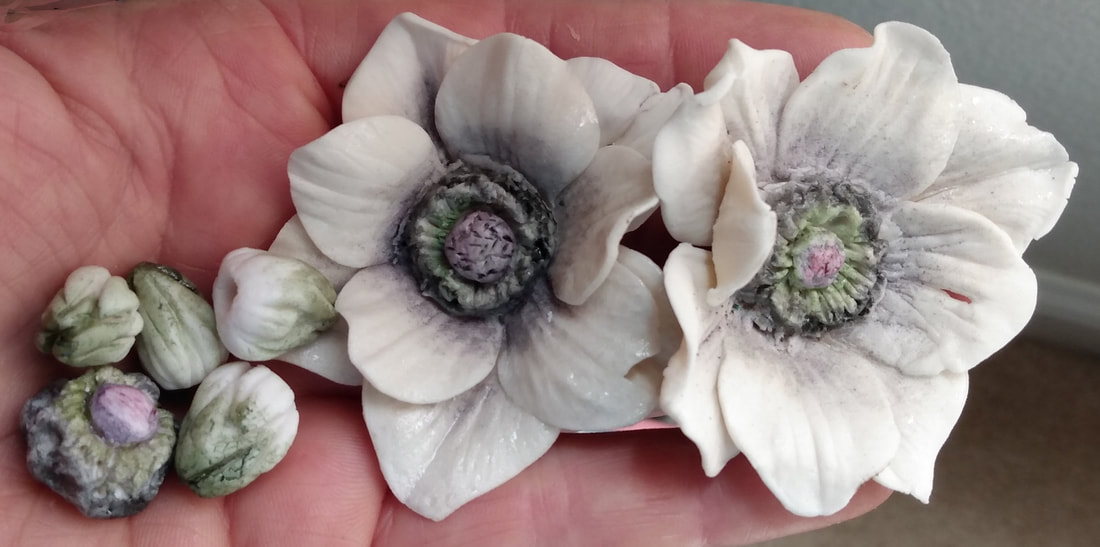
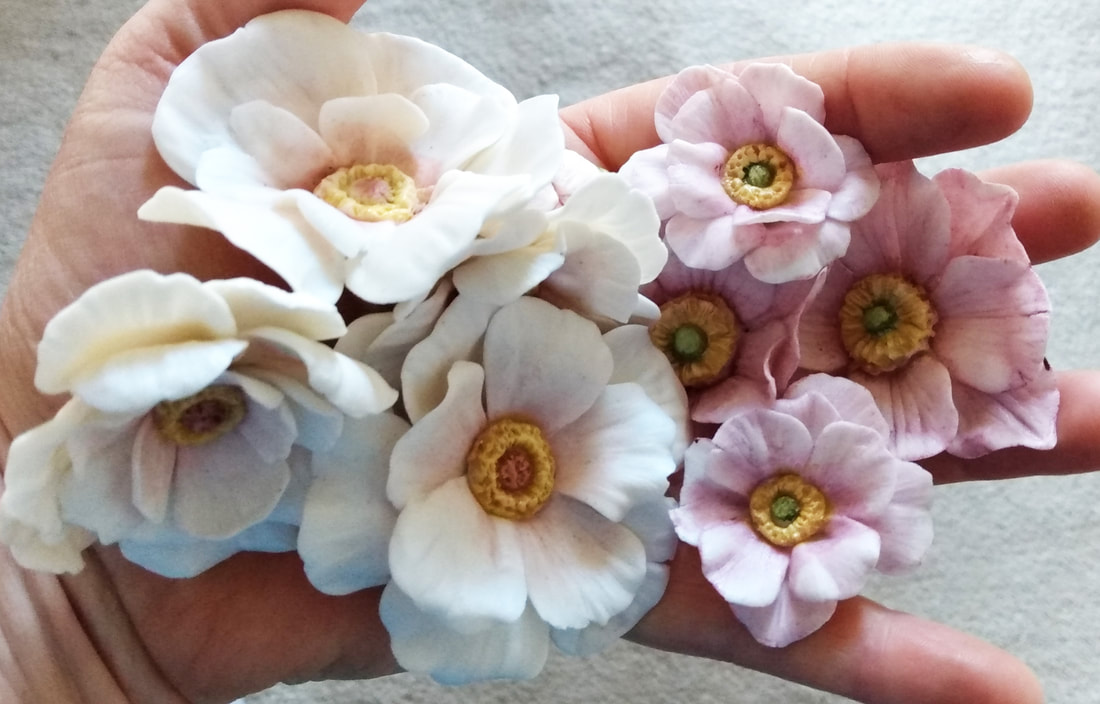
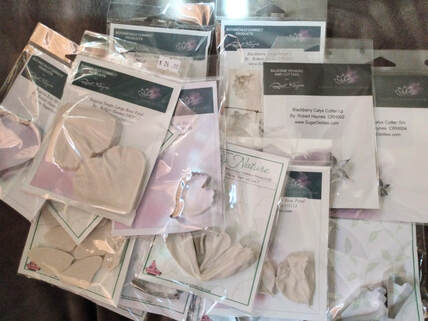
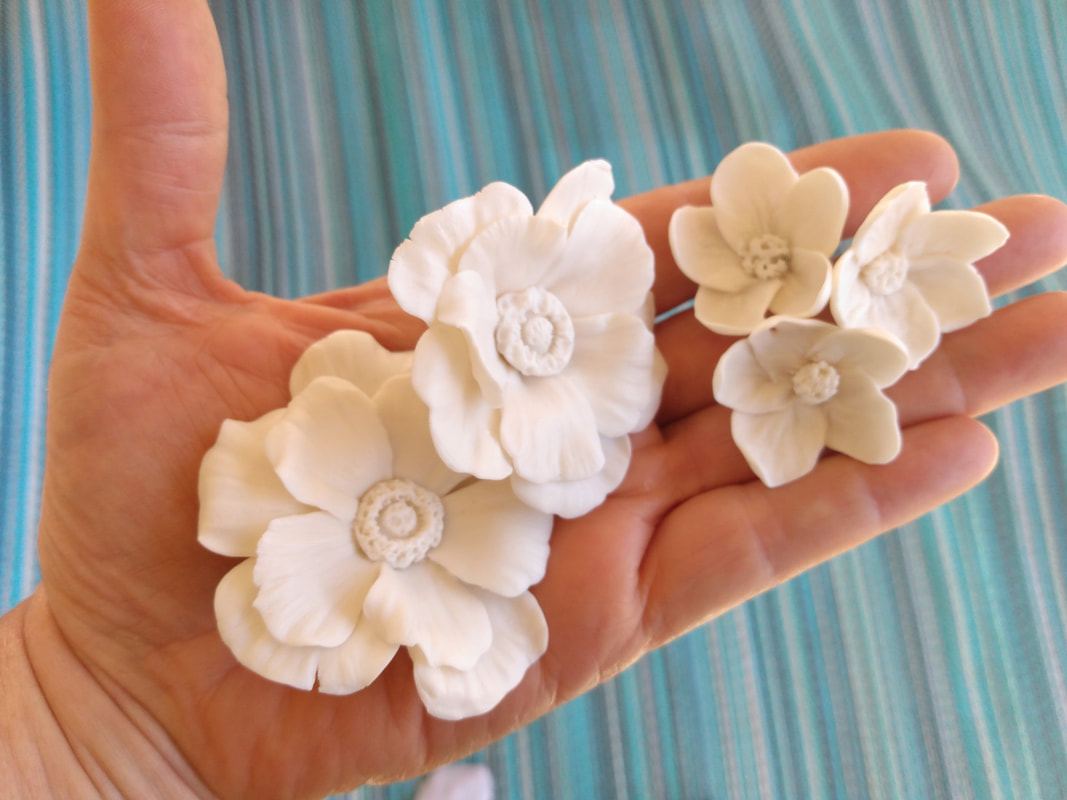
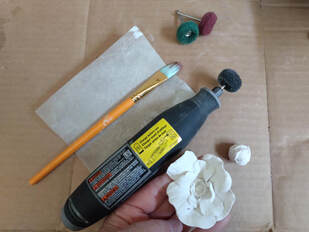
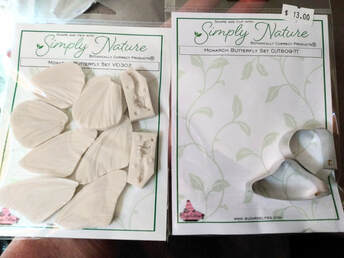
Flower Molds Freehanding porcelain flowers is difficult and time consuming. You have to move fast so clay doesn’t dry out too soon... yet you are working with very thinly rolled clay. So last month I tried Sugardelights silicone molds to see if it would help. Is it cheating?? YES! And life in the porcelain flower world will be easier. I cannot make the porcelain flowers as thin and alluring as a fondant or cold porcelain maker can. However molds do allow for better veining and thinner petals than before. And Porcelain fired flowers are most durable of the three creations. After using them for a week I discovered that unlike plaster molds they of course stick to water clays, but no big deal just use cornstarch. This can affect the smooth texture I am looking for so I found letting the rolled clay cut into shapes sit for a tiny bit before pressing in mold lightly worked best. I use a NZ6 porcelain slip (that’s the clay I use from Clayart center in Puyallup, WA) to adhere the petals even better than before. This technique plus careful attaching and blending seams made much stronger flowers so sanding did not break them as often as before. TIP: press edge of petal thinner before forming so the base is thicker and stronger in end but edges are more transcluscent and realistic. I still have to sand the greenware carefully. It's the most delicate in this dried stage before firing but good sanding has a large affect on final painting. So using a dry short soft bristle paintbrush works best. But if courageous and extremely patient, I use my Dremel with sanding brush tips. Usually these Dremel tips are used only in the bisque and final high fire stages just before painting. BUT you must have a very smooth surface to china paint for good coverage and accuracy. Since I work in mostly unglazed high fire (called bisque in some doll porcelain painting circles) its hard to do a super smooth with just sanding, even though I sand four or five times on average each bloom. This week I received a big order from Sugardelights. Peonies, blackberries, roses, and even a butterfly made from a real monarch. You can buy these silicone molds from cheap places on amazon, but I liked this company best. Excellent customer care and molds from famous sugar flower maker Robert Haynes. This means there is a bigger variety in one stop shop. THIS WEEK
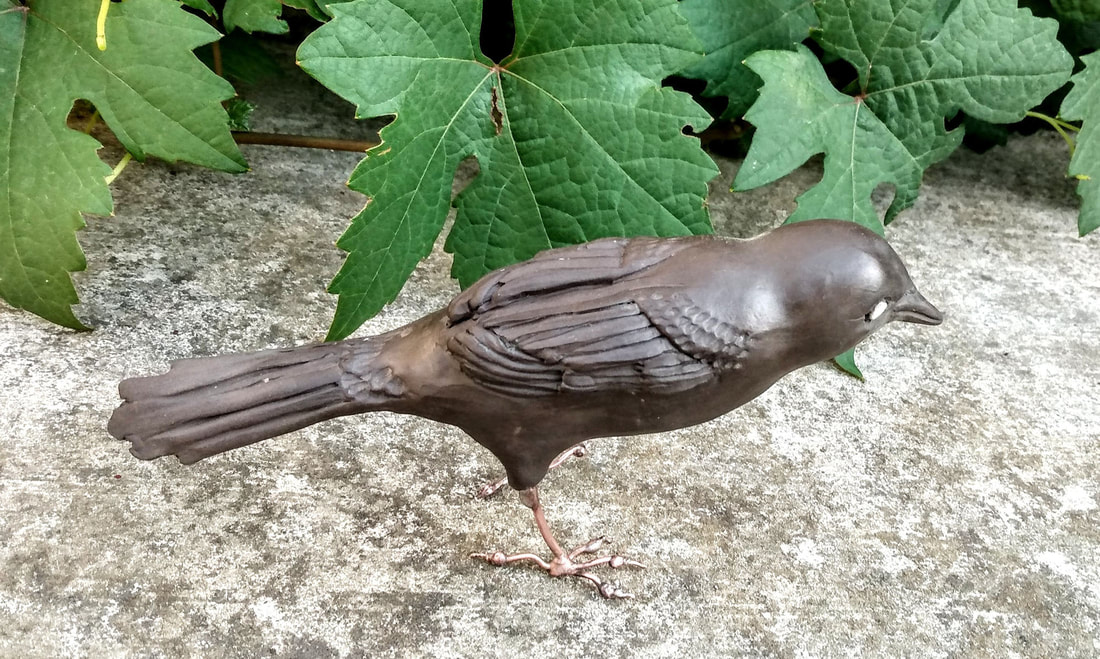
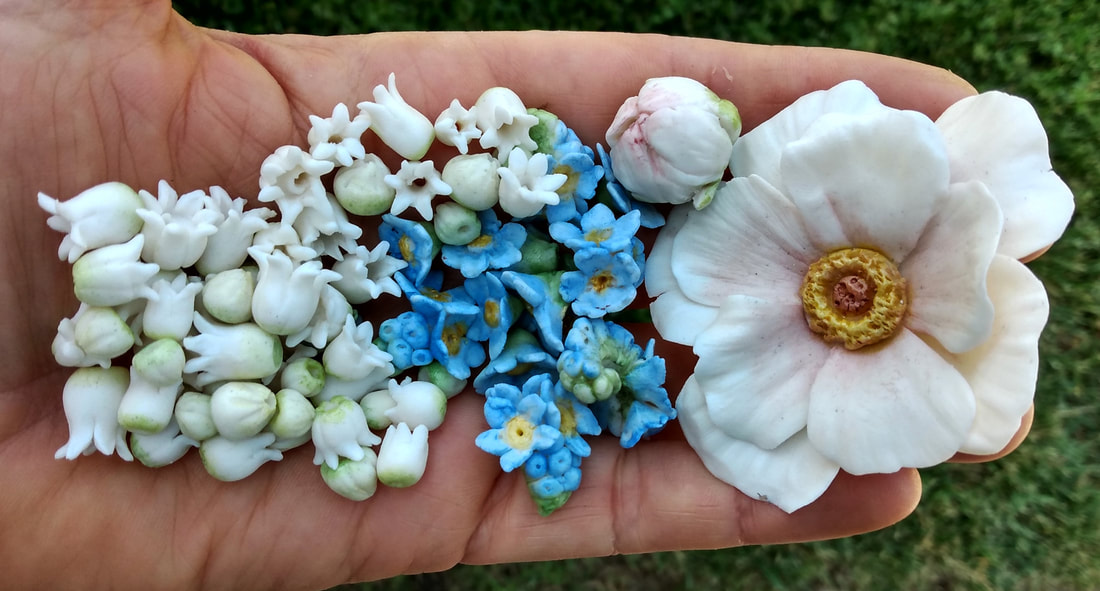
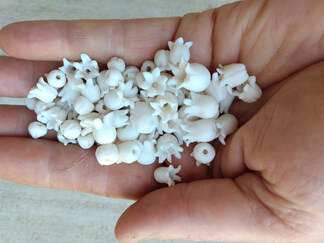
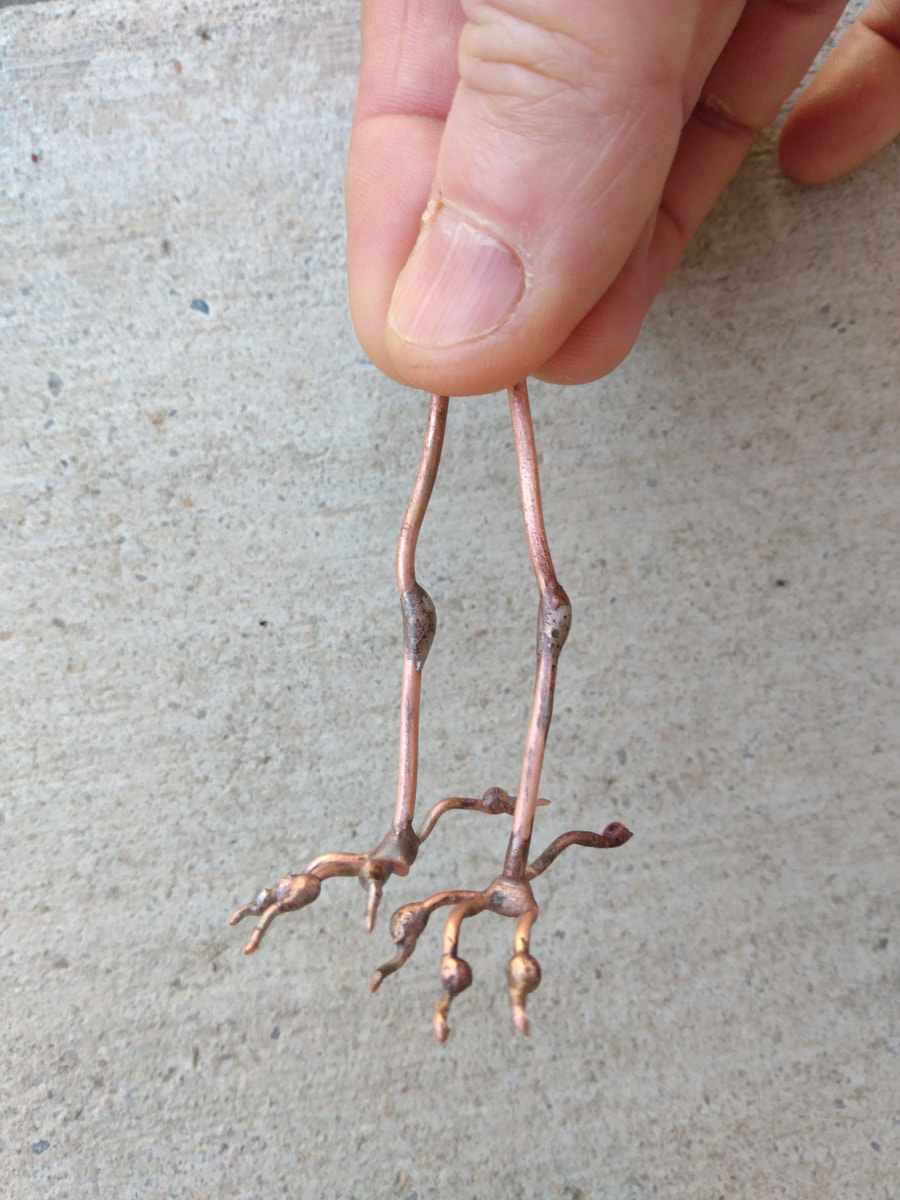
Making more flowers for a commision project and the corvid show in the fall. Above left is the lily of the valley flowers. I freehand small blooms like this but have been using silicone molds for larger ones. I purchased great molds from a company, Sugardelights. Photos will post soon. I like making rough birdlegs for the bird series. Though the internet sells great realistic legs in bronze they don't seem to match my bird sculptures. SO I am freehanding legs in copper. Next I worked on the broken owl. I broke many items over the last few months. A hummingbird, towhee and the owl among them. I used slip and gradual rehydration to fix her and she looked great. But once I fired her in bisque she began to show hairline cracks. Then in the highfire these big cracks showed up. She won't be sellable but I can fill with epoxy putties and then paint with acrylics to finish her. MAKING THE FRAMES
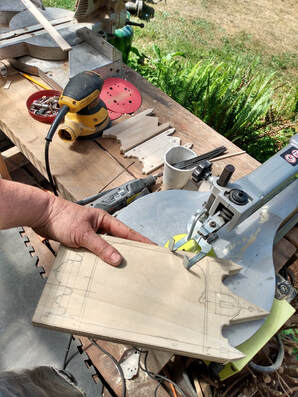
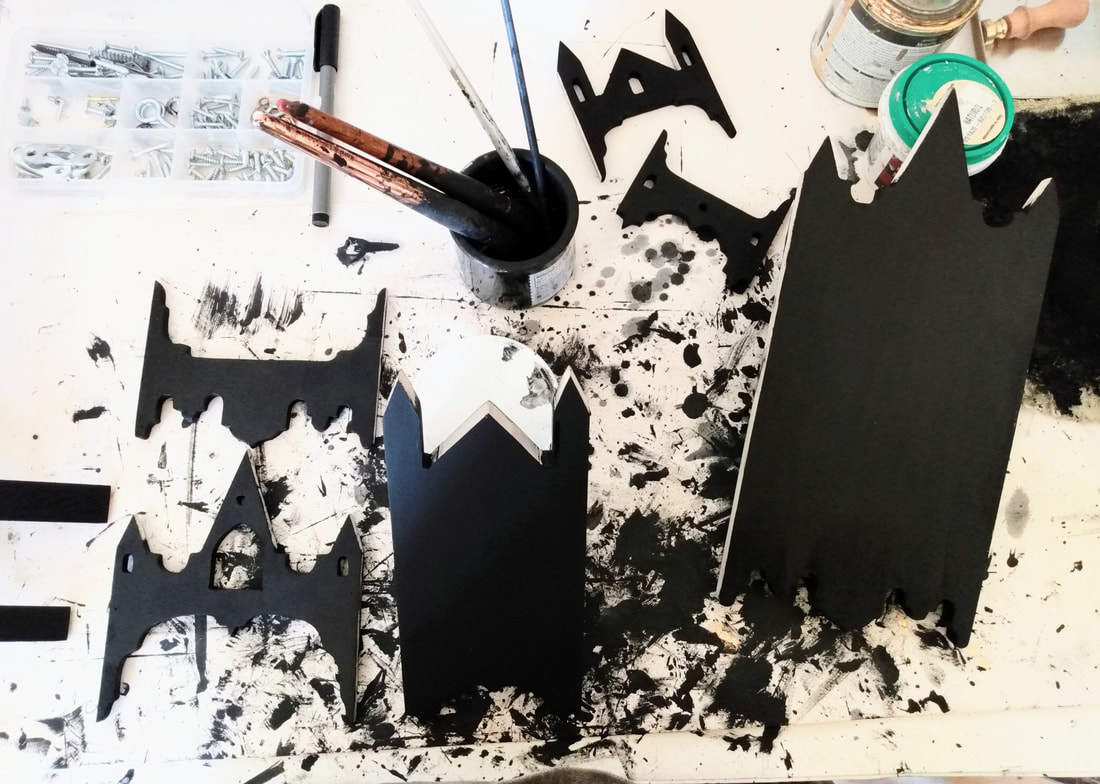
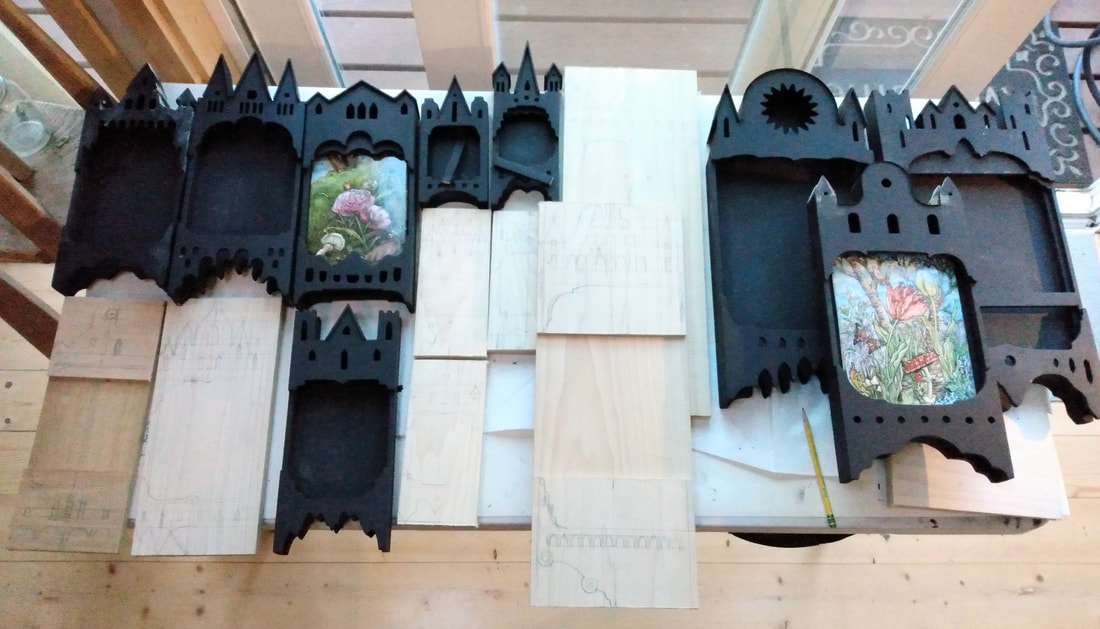
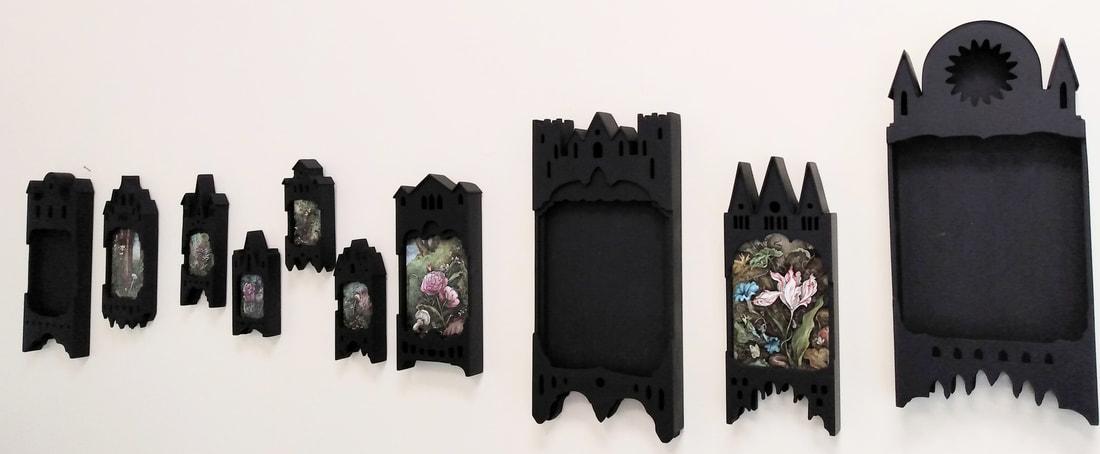
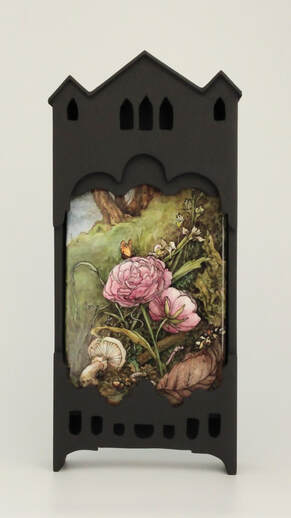
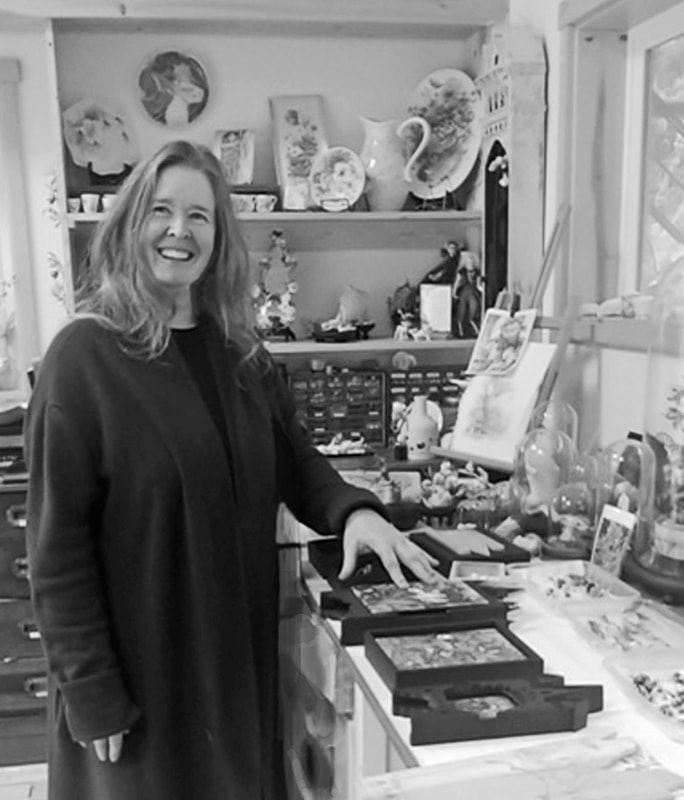
Painting all winter and into the spring, I finally finished the sanctum series this week. Still obsessed with Dutch master forest floor paintings I was inspired to make my own style of 'Sottoboscos'. The subject matter makes me feel safe, intrigued and calm in a world others call Terrible. This work is about finding sanctuary in home and self purpose. I started their elaborate frames last month and was surprised by the complexity of their construction. I have three days to finish the frames before delivering the work....ACK! Photos: At the top you can see the scroll saw I used to cut all the fancy edges and tiny windows. Each window requires a drill hole and then removing and replacing the tiny scroll saw blade inside. Then I use tiny files and custom sanding sticks to sand those miny openings. Next is more sanding, then the painting begins. Paint, sand, fill, paint- sand- fill on and on! until most blemishes are removed. Though the frames compete with the paintings, I didn't want the tiny flaws to distract too much, and believe me ...black is hard to get perfect. When I assembled a few and knew it was doable, I began to layout out all of the frames and matching them with the paintings. You can see the 'sandwiches' I made for prepping each box. I made 17 frames for 17 paintings which in a normal year would take more than 8 months but squeezed it into 4-5. Viola! ready for Childhood End's Group show... -'UNDERSTORY'- June 16-July 30, 2023. |
All photos and images
on www.loralin.com belong solely to the artist. Copyright 2008-2023, Loralin Toney Archive
January 2024
|
Proudly powered by Weebly


 RSS Feed